Speaker Portal Setup
What is the Speaker Portal?
The Speaker Portal is a single place that your speakers can login to to interact with your event. This includes viewing and editing their speaker profile, viewing information about their session, completing submission flows and confirming time slots.
Where does the Speaker Portal live on Lineup Ninja?
>
How do I activate the Speaker Portal?
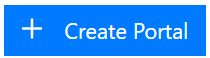
Once you have navigated to the Speaker Portal, click the blue ‘Create Portal’ button to activate this for your event.
Choose a subdomain (this can be edited later) and just like that, you have activated the speaker portal!
What does each of the sections do in the default setup?
Title - This section contains some text which can be used to offer some guidance to the speaker.
My Tasks - This section shows the tasks for each submission that are assigned to the speakers. By default, there are three sections:
- To Do - Tasks that require attention
- Done - Completed tasks
- Missed Deadline - Tasks for which the user missed the deadline
My Profile - This section is where the speaker can complete their speaker profile. You can configure this to gather in whatever information you need.
It is important to note that when a speaker edits this section, it will appear directly and instantly in the Agenda Planning part of LineUp Ninja.
My Sessions - This sections shows the sessions that the speaker is taking part in.
Open Calls for Paper - This section shows any Submission Flows that are currently accepting new public submissions. You can choose which flows are included, and their order, by clicking the edit button.
Manage Account - This section enables the speaker to access their account page to change their password, log out etc. It is a mandatory section and cannot be removed but you can change the text on the button if desired.
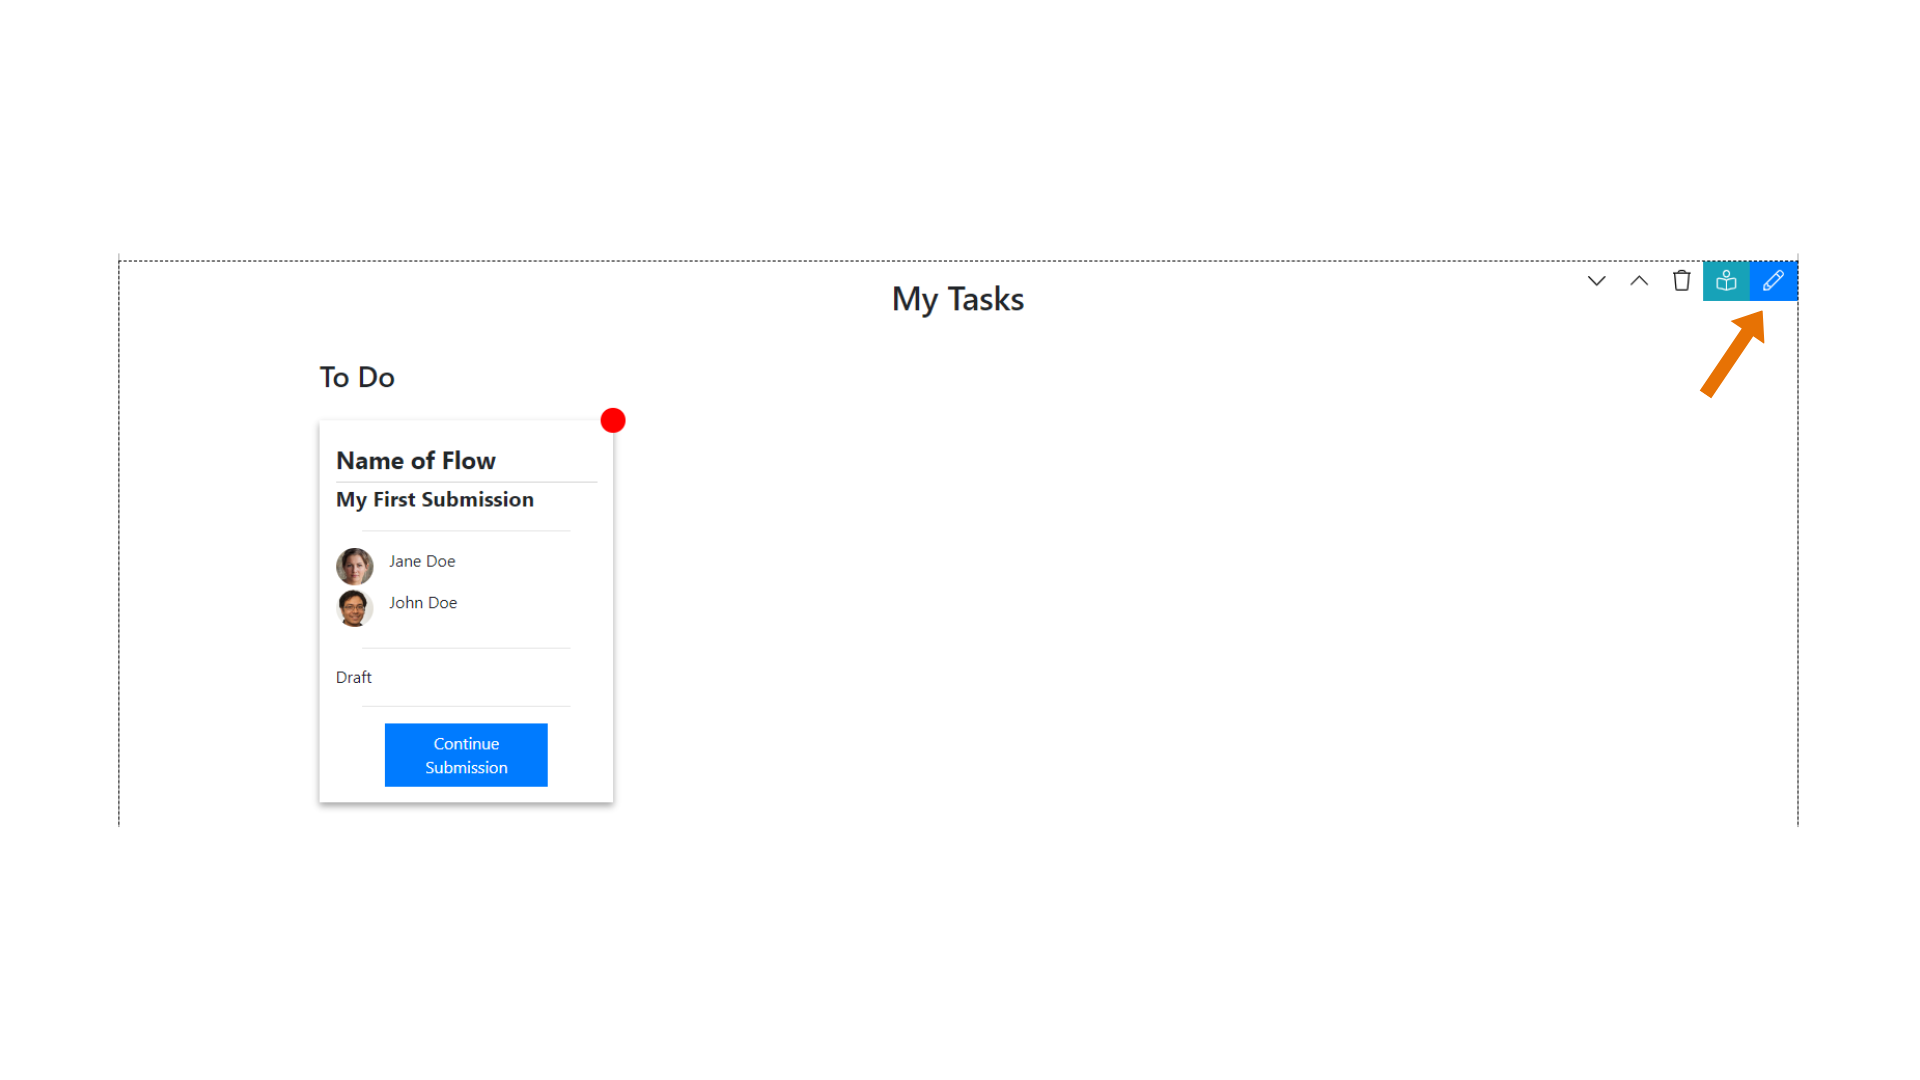
How do I edit a section?
To edit a section, hover over the section and click the blue in the top right-hand corner.
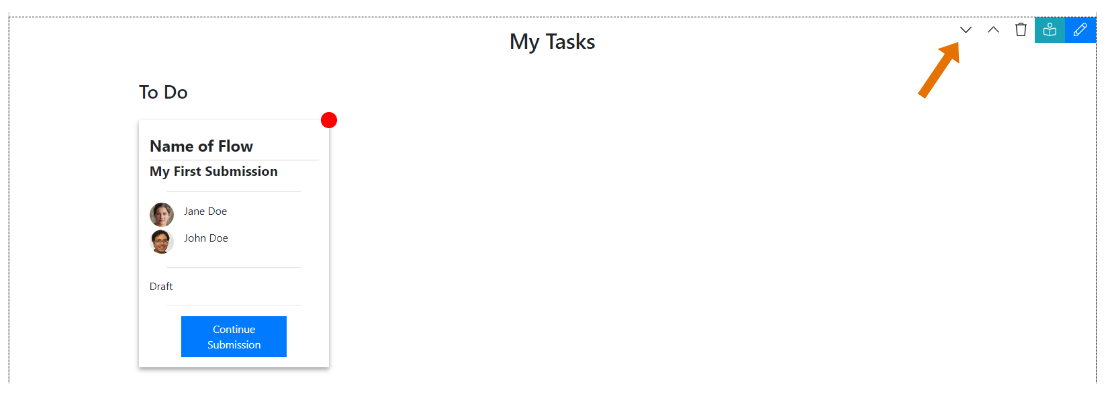
How do I reorder a section?
To reorder a section, hover over the section and click the up or down arrows in the top right-hand corner.
How do I delete a section?
To delete a section, hover over the section and click
in the top right-hand corner.

How do I add new questions to the ‘My Profile’ section?
To add new questions to the My Profile section of the speaker portal, you must add these as Custom Fields. See Custom Fields for more information.
How do I add a new section?
To add a new section, scroll to the bottom of the Speaker Portal page and click the blue ‘Add Content’ button.

This will open a pop up with guidance on how to add new content types.
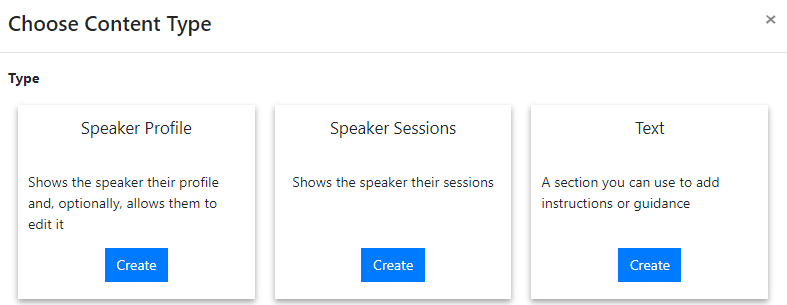
Please note that if you add multiple ‘Speaker Profile’ or ‘Speaker Session’ sections, you must configure Display Rules to avoid showing the speaker duplicated content.
Whilst there are many ways that you can utilise the ‘Text’ option, we have listed a few ideas to get you started.
- Images - Upload images of the venue/ floor plan/ theatre layout/ directions etc.
- Speaker Brief - Insert a link to a speaker brief or write it directly into the text box
- Contract - Insert a link to a contract for the speaker to sign
- Link to parking permits/ hotel details etc.
- Evaluation - include a form for evaluation questions and schedule an email for after the event to gather evaluation data
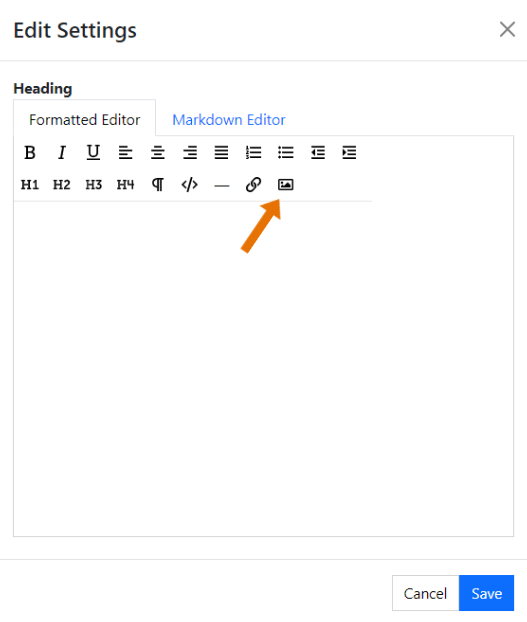
How do I embed an image into the Speaker Portal?
To embed an image into the Speaker Portal, your image will need to already be hosted online somewhere (e.g. Google Drive). To add the image, add a blank ‘Text’ section and click the ***blue *** to edit. Select the image icon and input the image URL.
Can I upload documents for speakers to view/download?
Currently we recommend integrating documents using links for speakers to view/download. However, we are working on integrating this into Lineup Ninja soon!
What are Display Rules?
Display rules allow the organisers to show or hide sections based on certain parameters. These parameters can be configured through the use of roles and labels.
Display rules can be used for any number of reasons but here are a few to get you started!
- Showing the moderator of the sessions all of the names and contact details of the speakers on their panel
- Showing a speaker the names of their fellow panellists
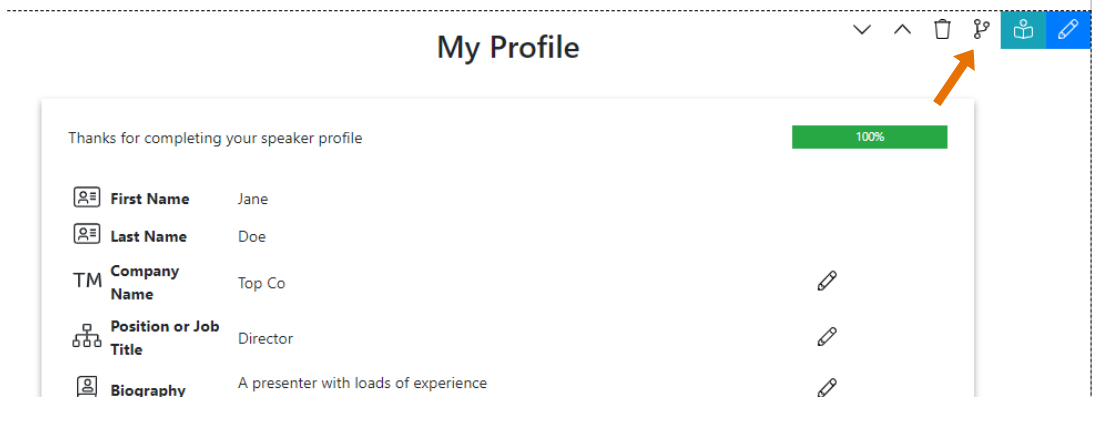
How can I configure Display Rules?
To configure Display Rules, scroll over the section and click the branch icon in the top right corner.
How do I invite Speakers to the Speaker Portal?
-
Navigate to >
-
Click at the bottom right of the list view to add a new Speaker
-
Fill out their first and last name, an email address and company name. If you have already input your Sessions, you can assign them to the Speaker here too

-
Click to save
-
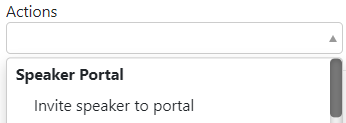
Select the Speaker(s) you wish to invite to the Speaker Portal using the tick box on the left hand side
-
Scroll to the ‘Actions’ drop down and select ‘Invite Speakers to Portal’
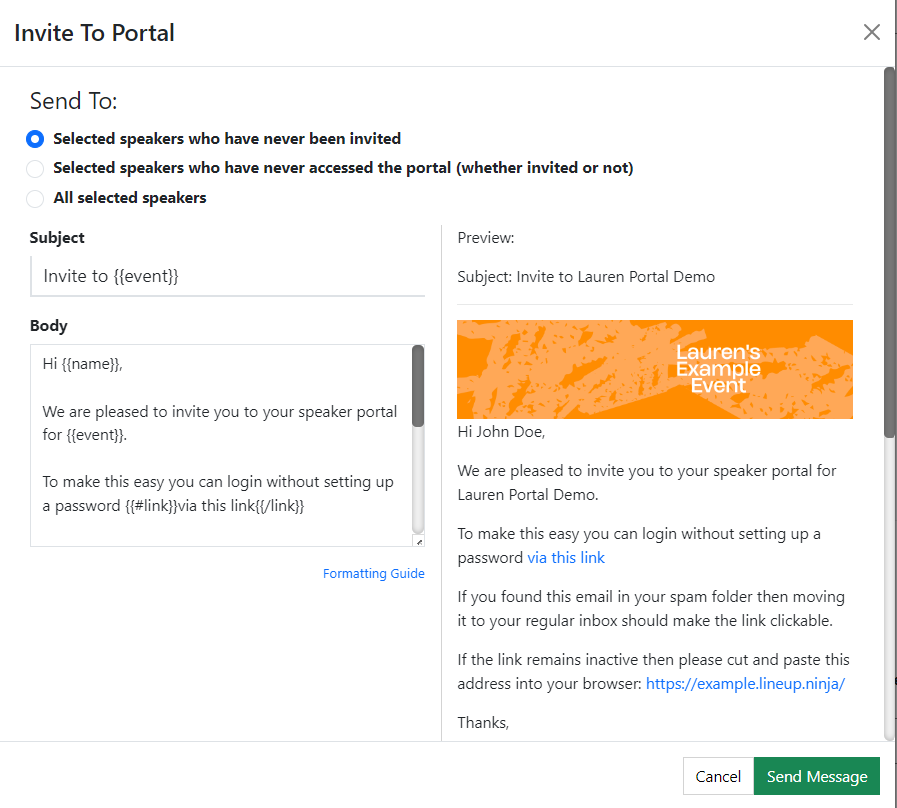
-
A popup will appear, containing the email that will be sent to the Speaker, in which you can select what group of people the email is sent to
For more information about configuring and customising Email Templates and Branding, follow this link.
How do I manage who has and has not been invited to the Speaker Portal?
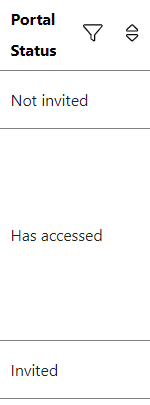
Within the Speaker List on , there is a column indicating the Portal Status for each Speaker:
- Not Invited - Speaker has not yet been invited to the Portal
- Invited - Speaker has been invited to the Portal but has not yet accessed it
- Has Accessed - Speaker has been invited to the Portal and has accessed it (logged in)
If the column does not appear, navigate into the settings by clicking on the Settings Wheel in the top right corner. Here you can hide/unhide columns using the Eye Icon.
Next - Branding
Still can’t find what you’re looking for? Email support@lineupninja.com and one of the team will get back to you as soon as possible.