Content Portal: Landing Page
This is the page that portal users will see when they arrive at the web link. You can use it as a simple “Welcome”, or to provide guidance for users before they log in to the portal.
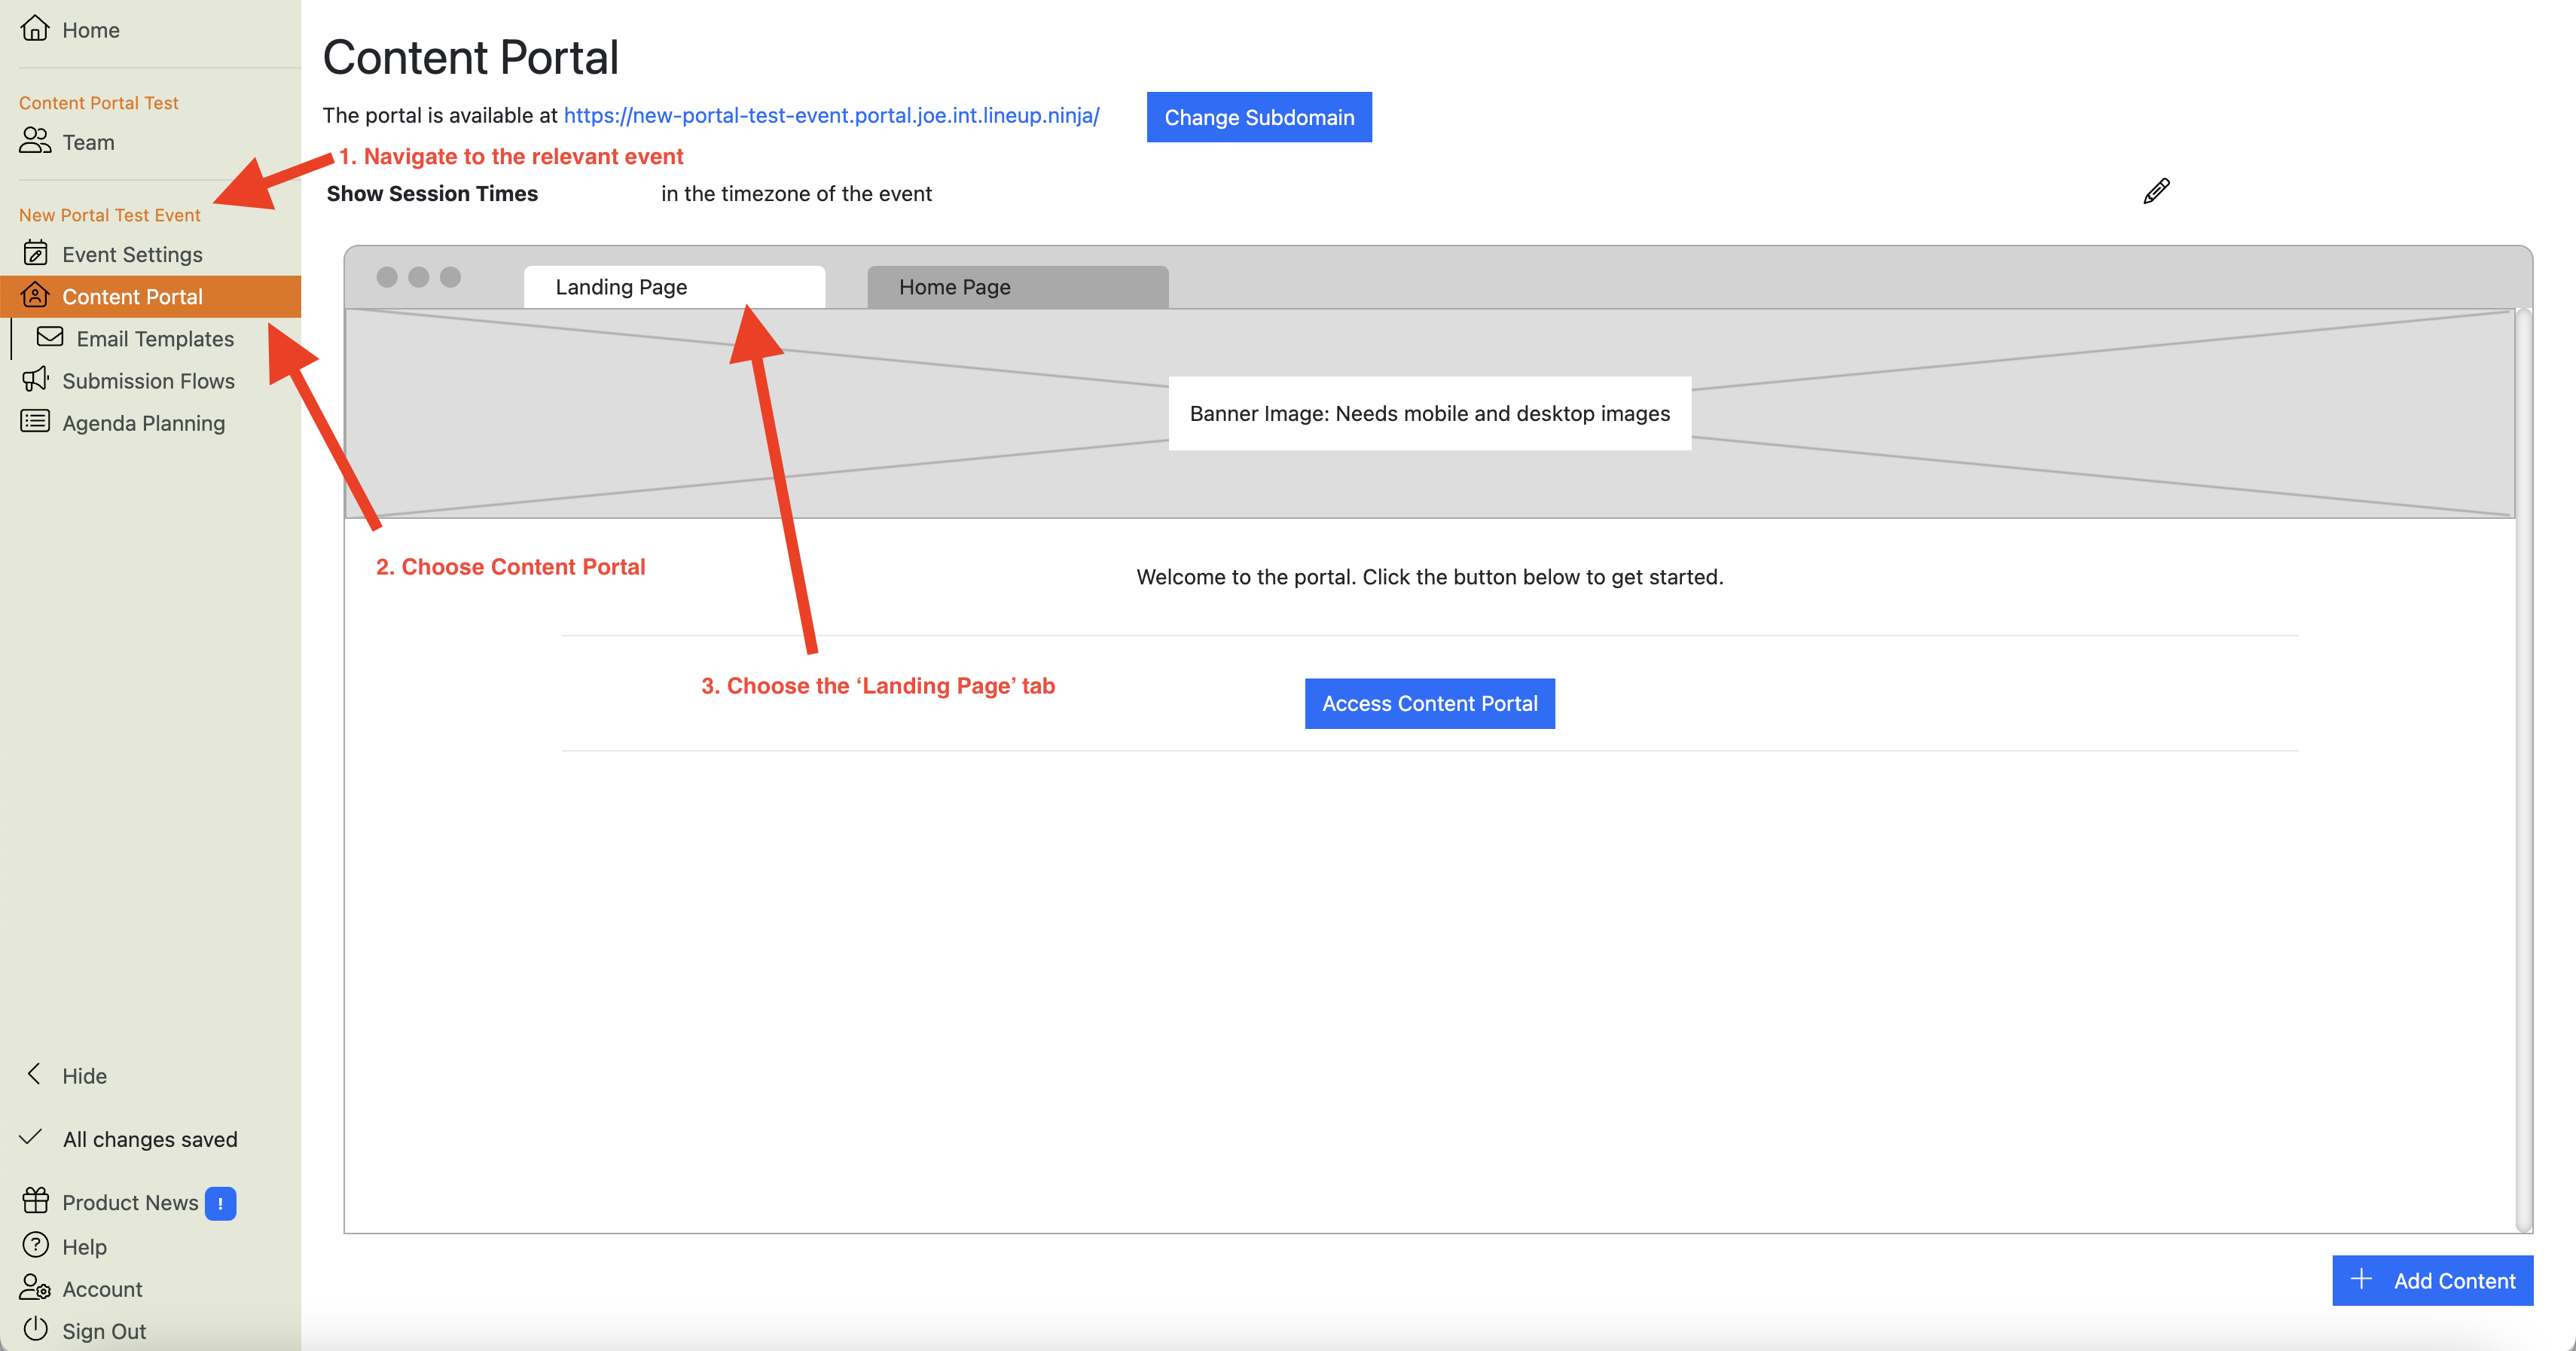
How do I add branding to the Landing Page in the Content Portal?
You add branding to the Landing Page from the portal configuration view.
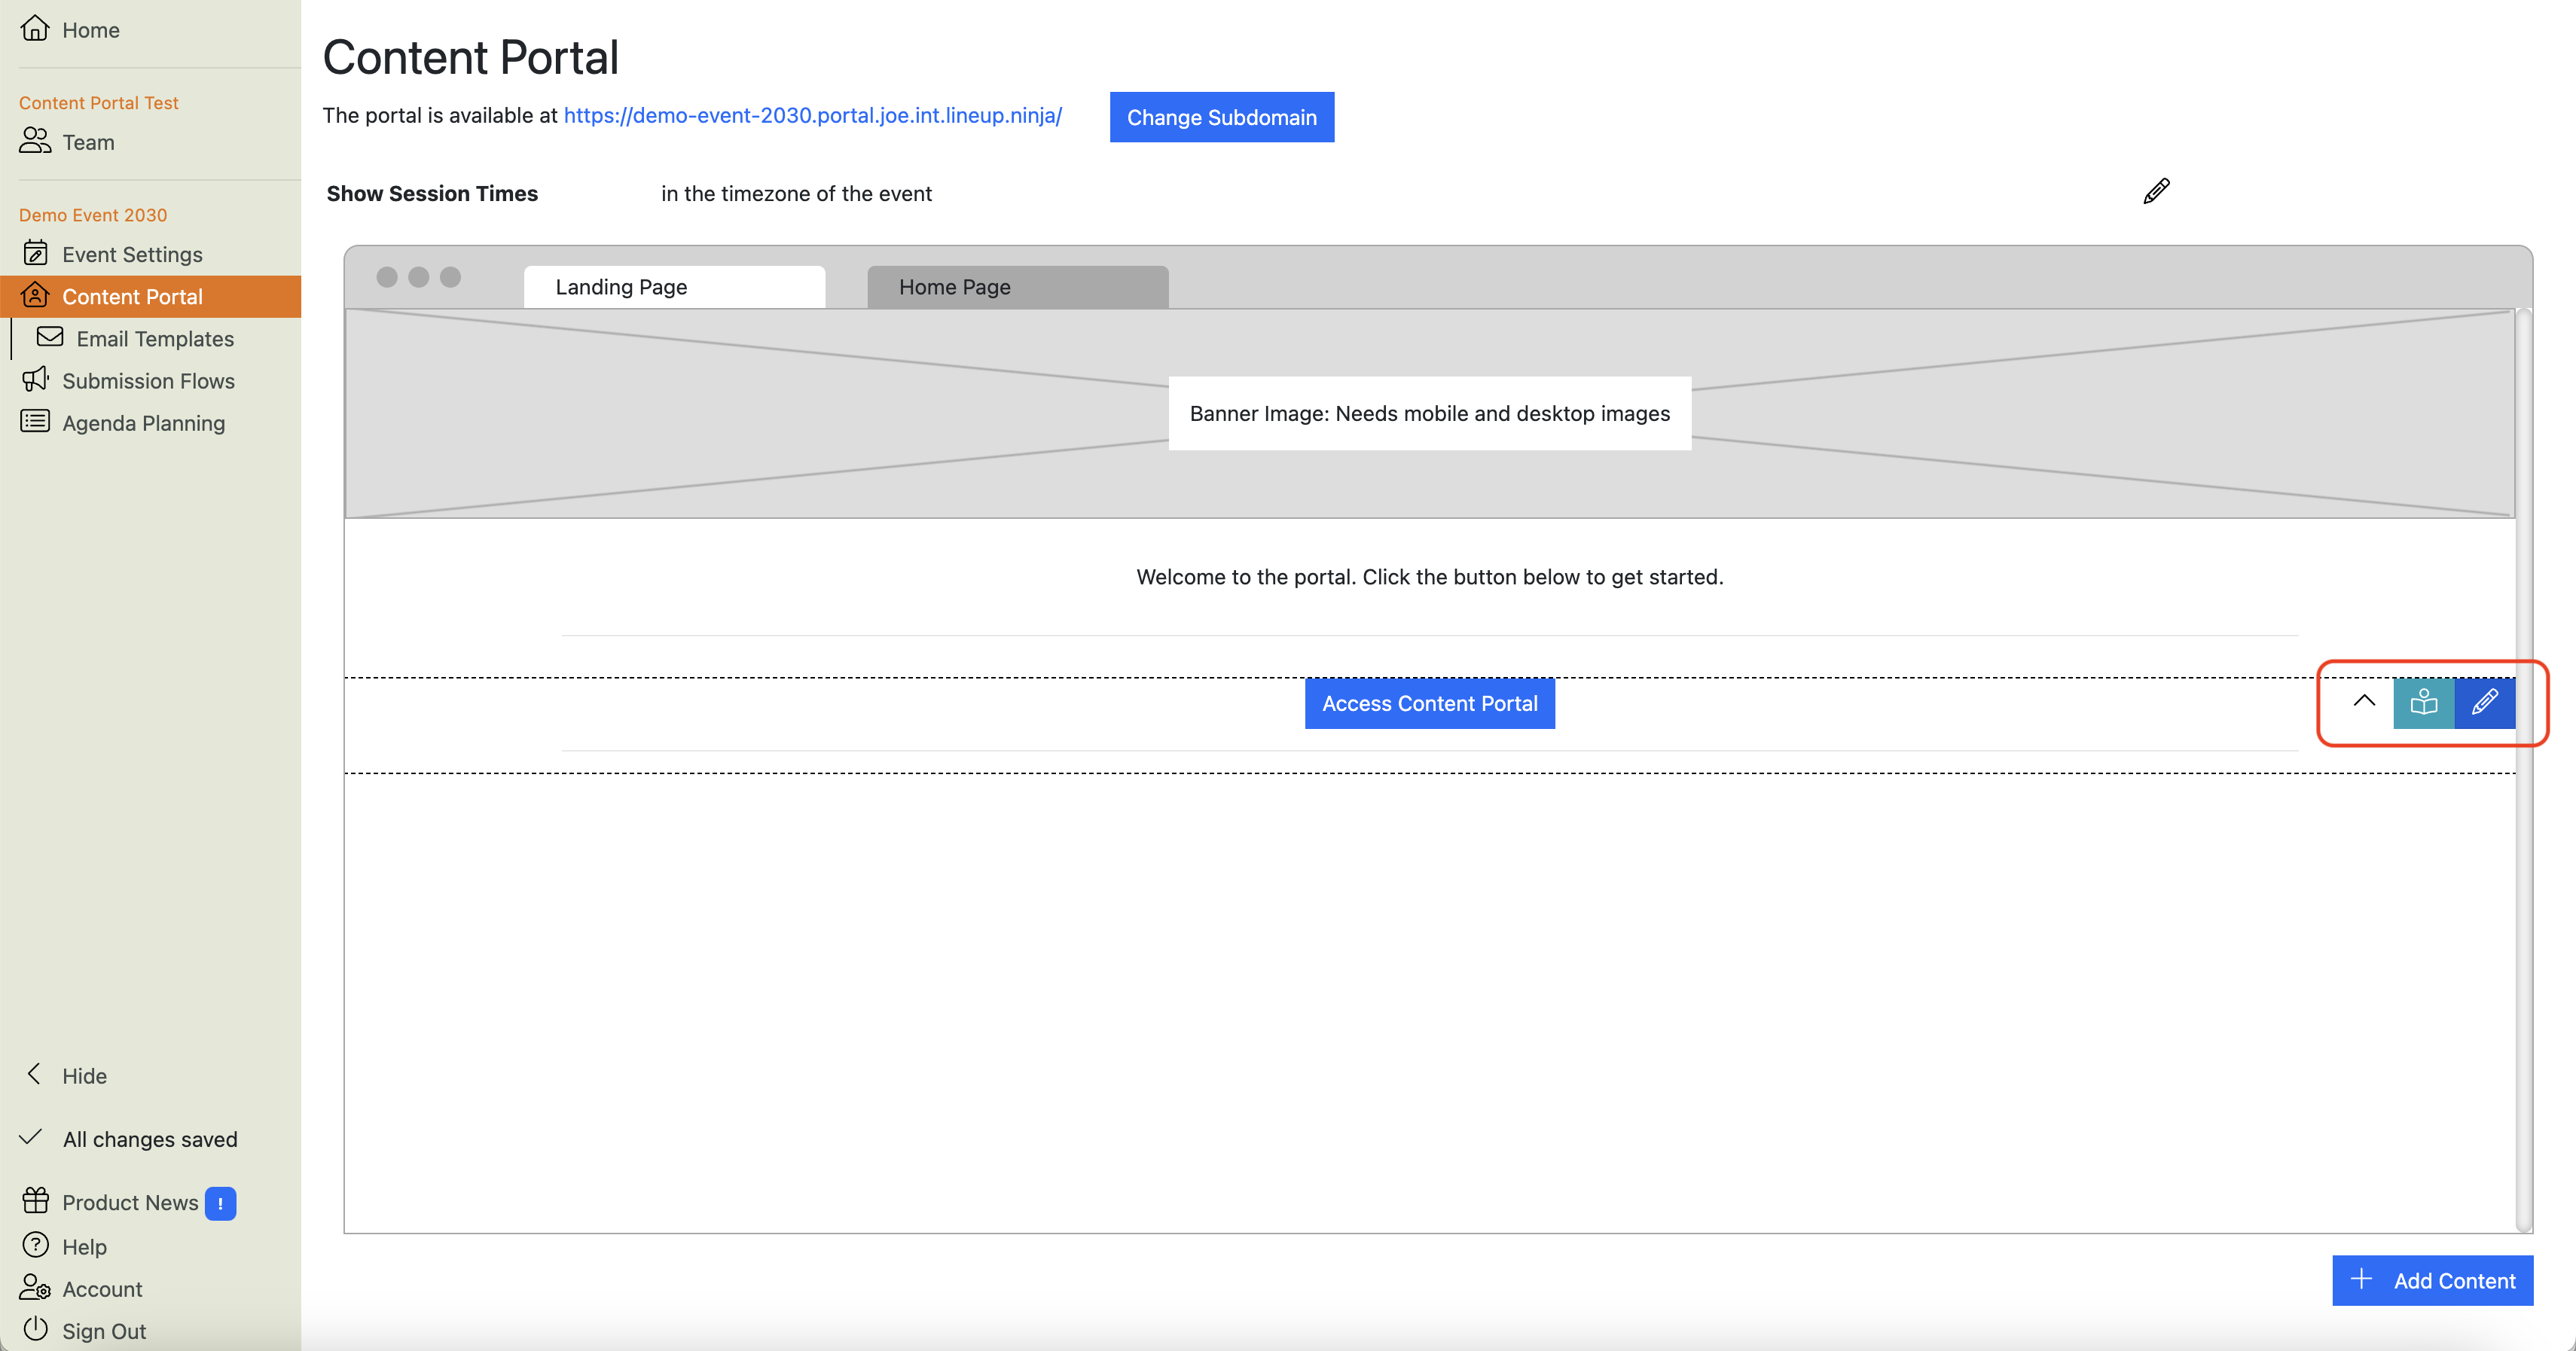
Hover your cursor over the grey “Banner Image” area of the Landing Page preview. This will reveal the action buttons that are relevant to that section:
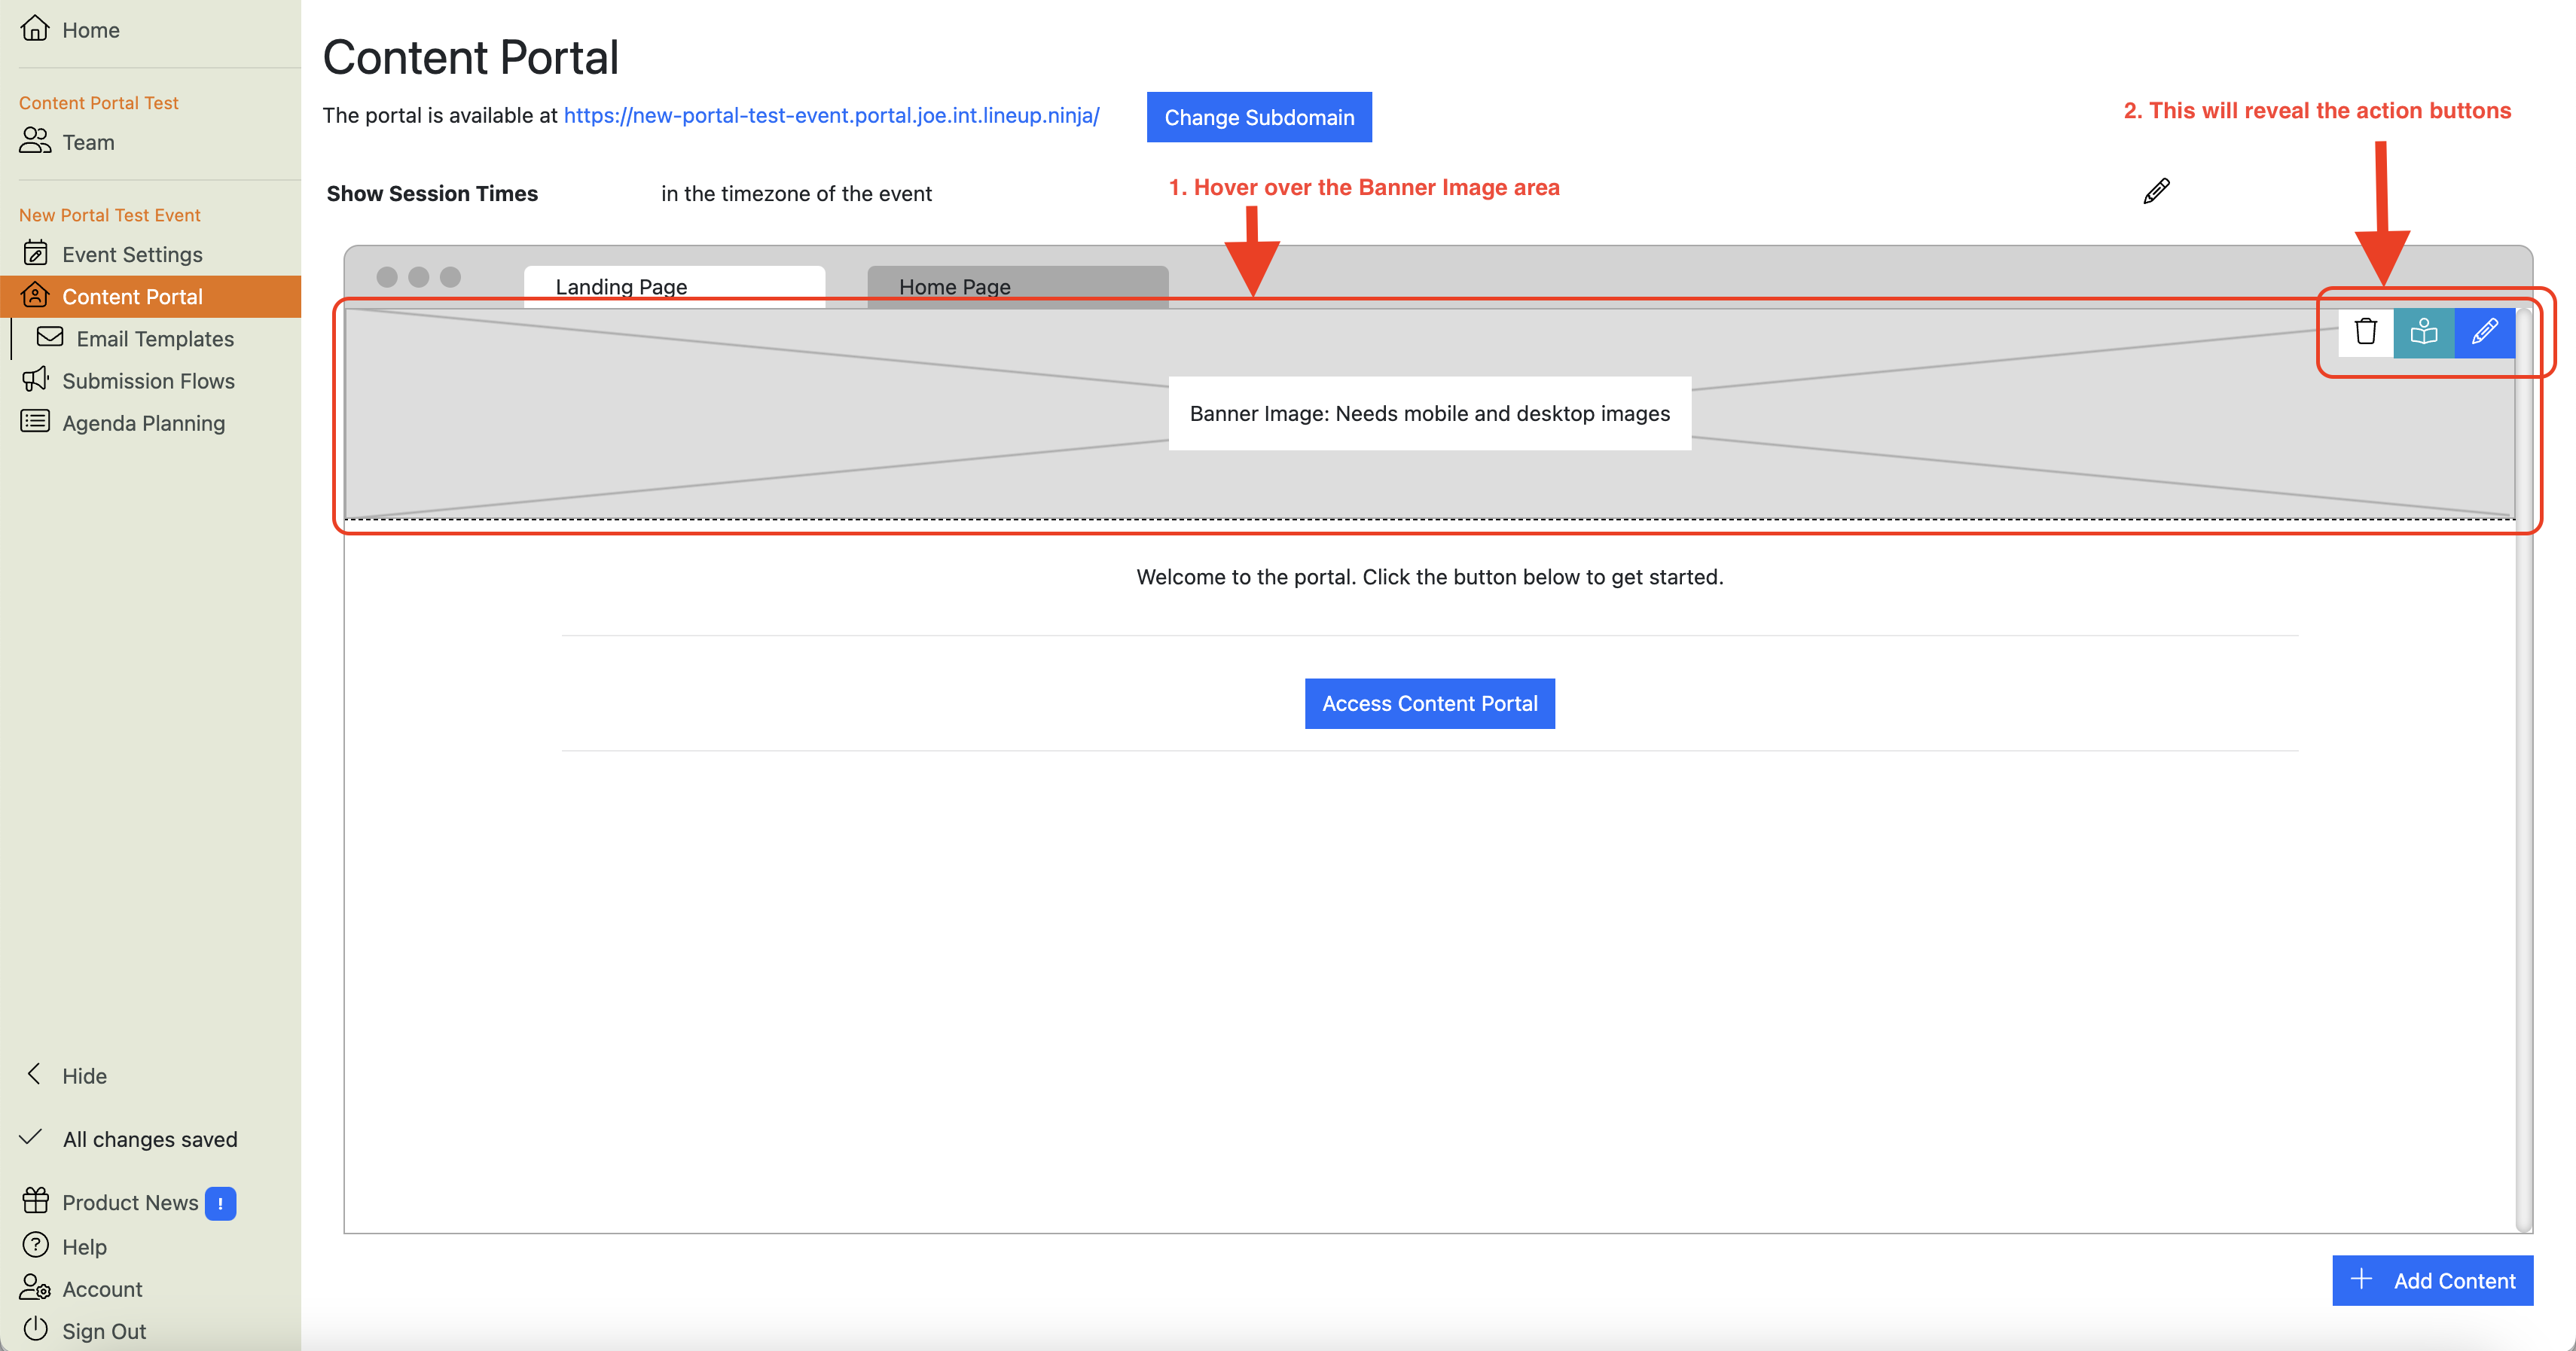
Click on the blue button to launch the Banner Upload dialogue box:
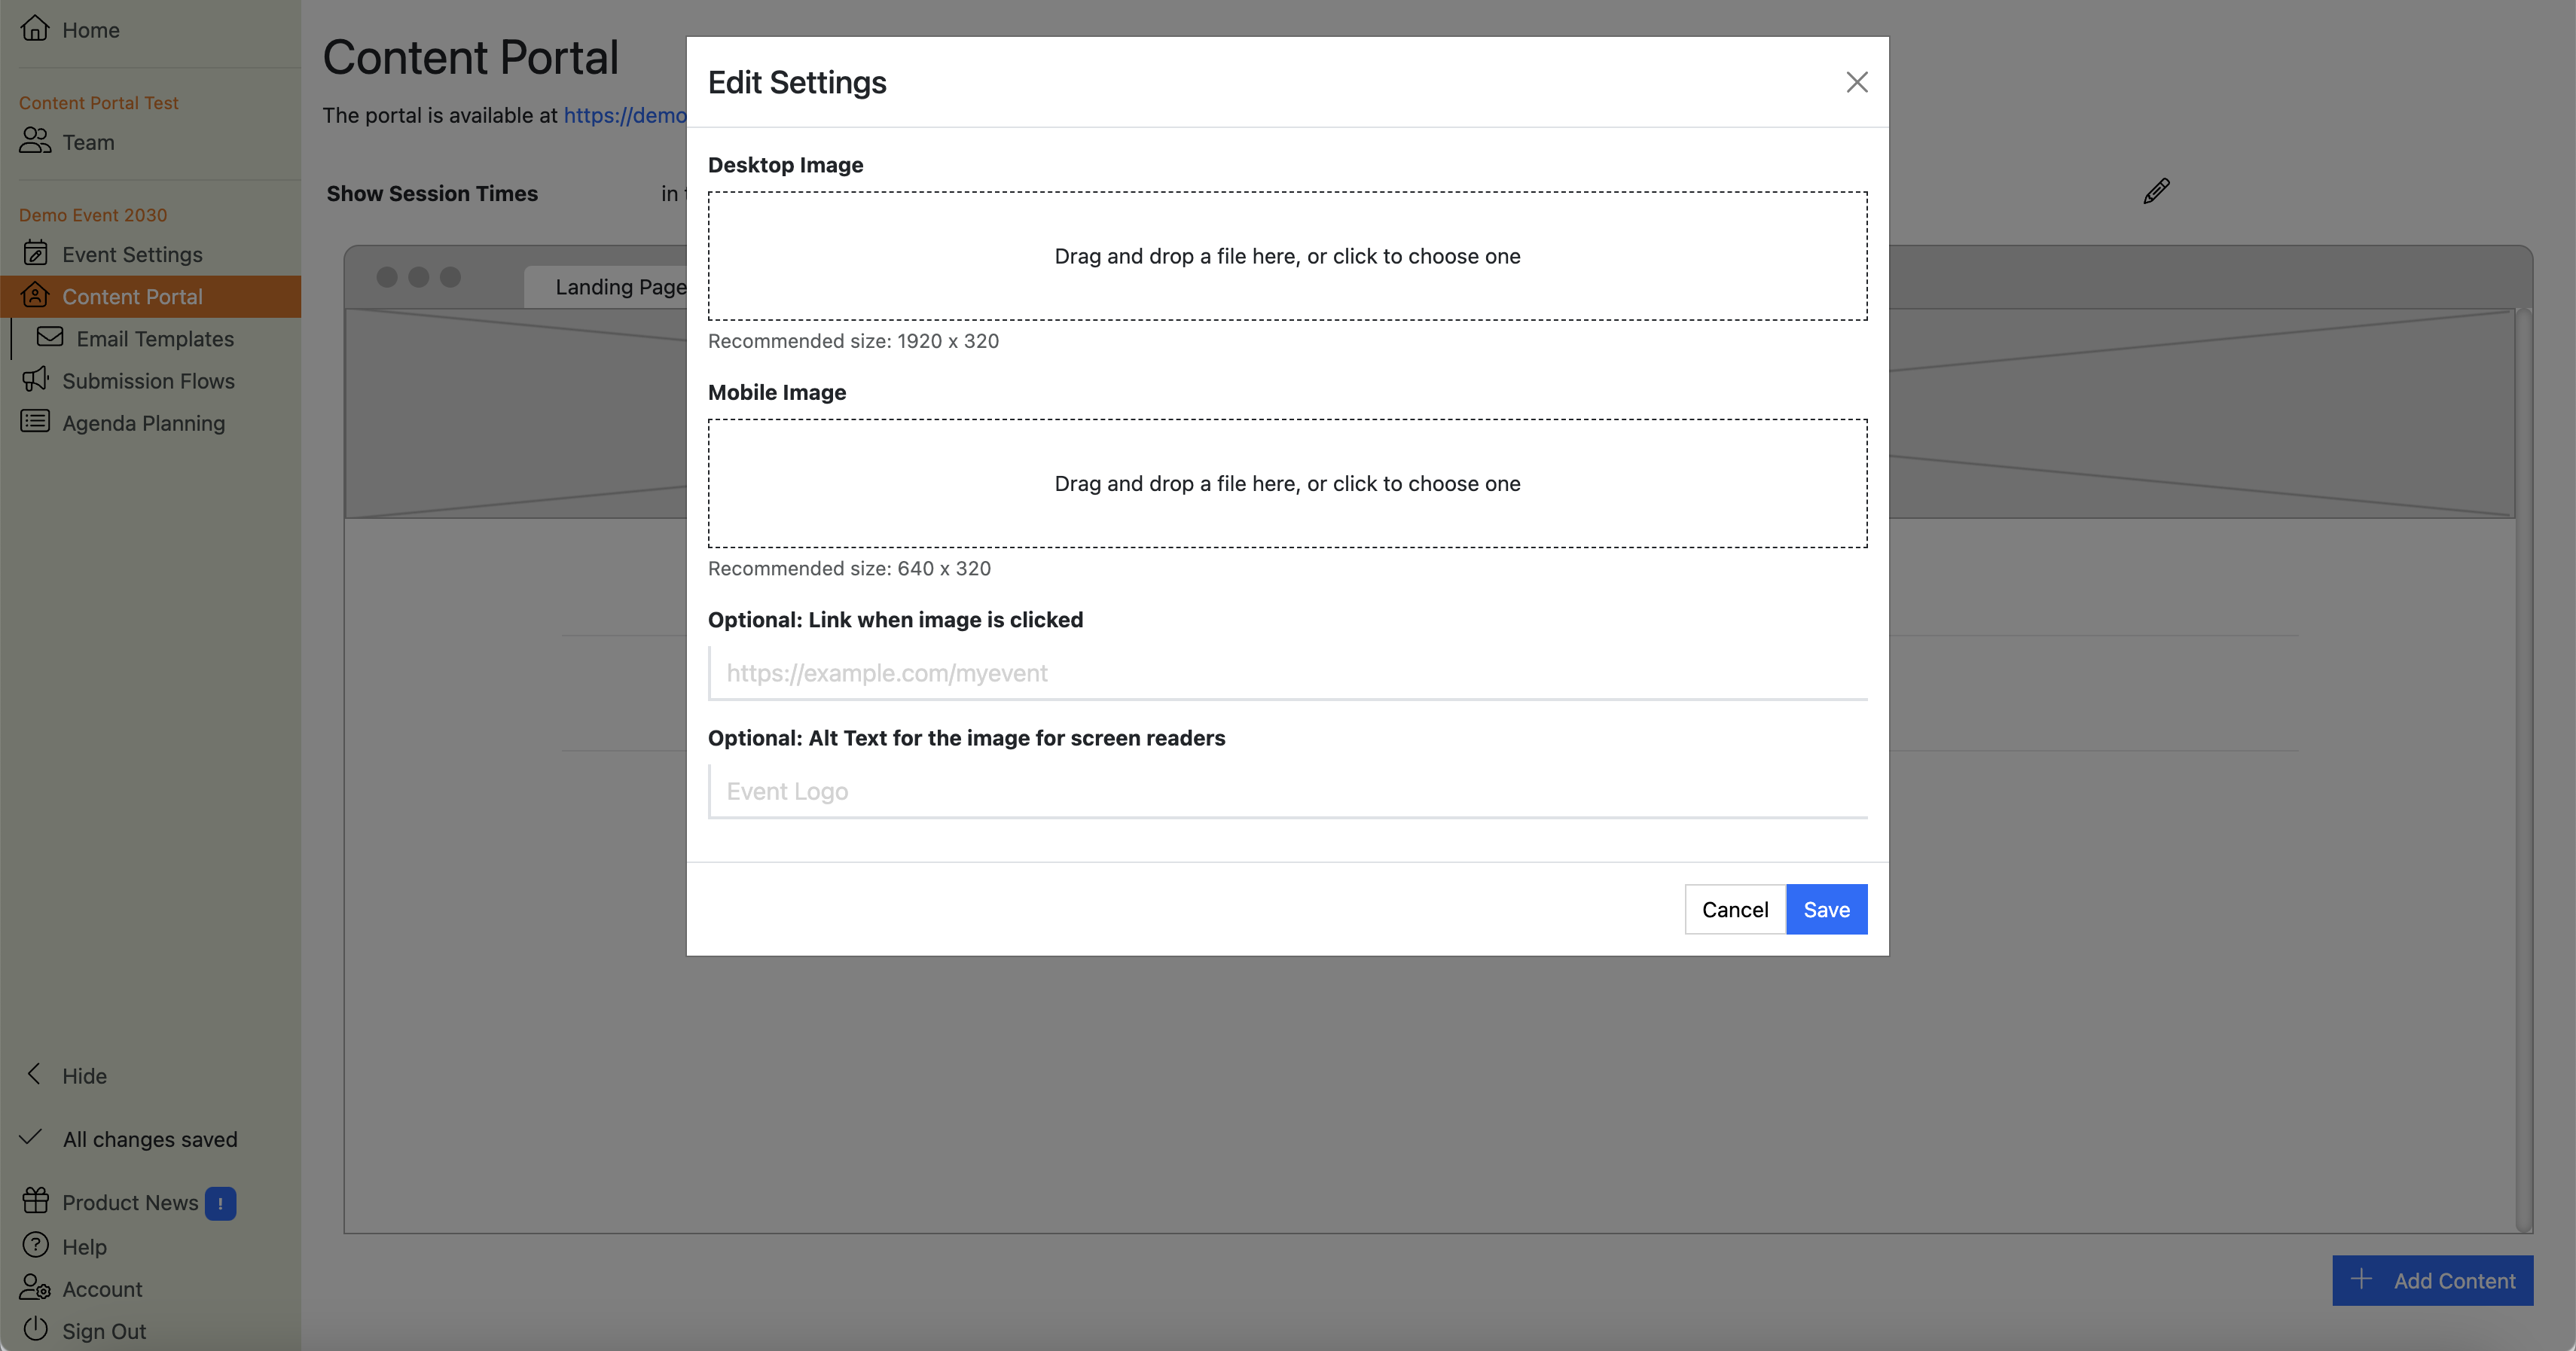
Here you can upload different banner images for display on desktop and mobile devices. The dialogue box shows you recommended dimensions for each.
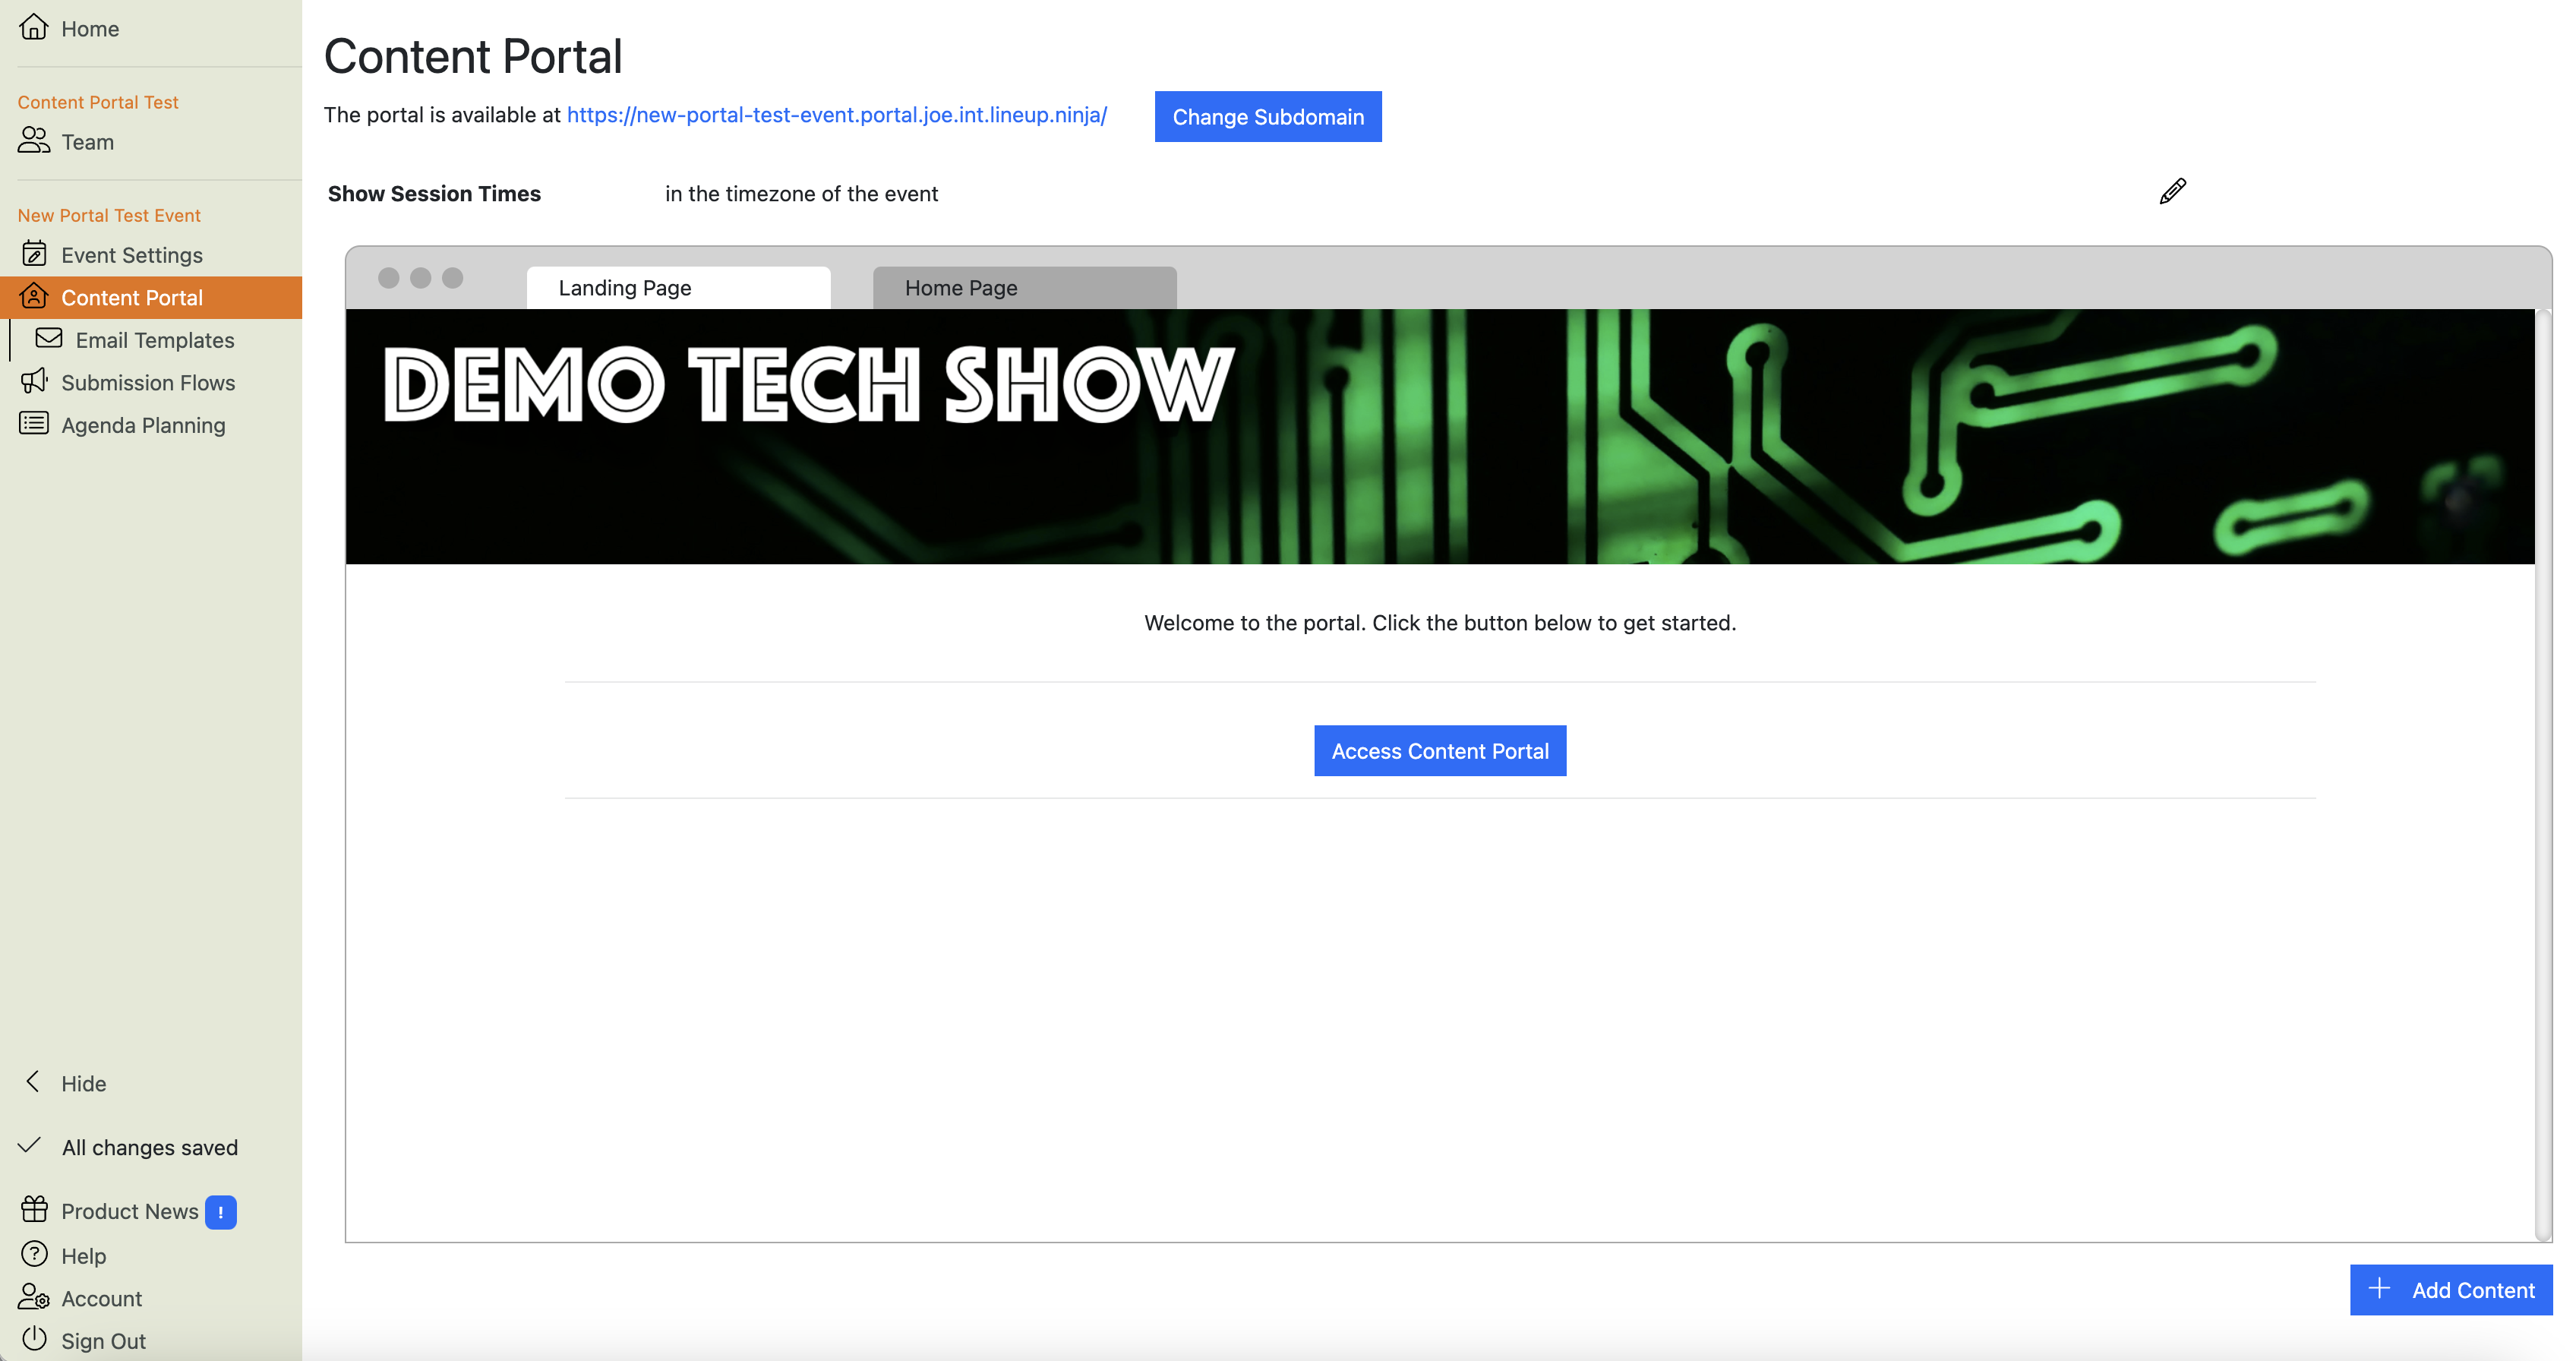
Once you have uploaded your banner images, you will see them in the preview, like this:
Info
If you only upload one image (e.g. you only upload a desktop image and no mobile image), the preview will remain grey. This is to remind you to upload both images.
NOTE: If you publish the portal with only one image, whichever one you have uploaded WILL be shown to users.
So, if you only upload a desktop image, it will stay grey in the preview. Portal users will see the desktop image on both desktop and mobile devices.
When you upload the mobile image, you will see the images in the preview and portal users will see the correct image for the type of device they are using to access the portal.
Tip
Once you have uploaded desktop and mobile banner images, to preview them both, change the size of your browser window: i.e. leave your browser full-width to see the landscape banner image, and resize the window to make it narrow to see the mobile banner image.
If you want, you can add a link to these images, so when users click or tap the image, they will be taken to that link.
You can also add alt-text for the images so that screen readers can read the text to partially-sighted users.
How do I remove the banner on the Landing Page in the Content Portal?
Hover your cursor over the banner image on the Landing Page preview. This will reveal the action buttons:
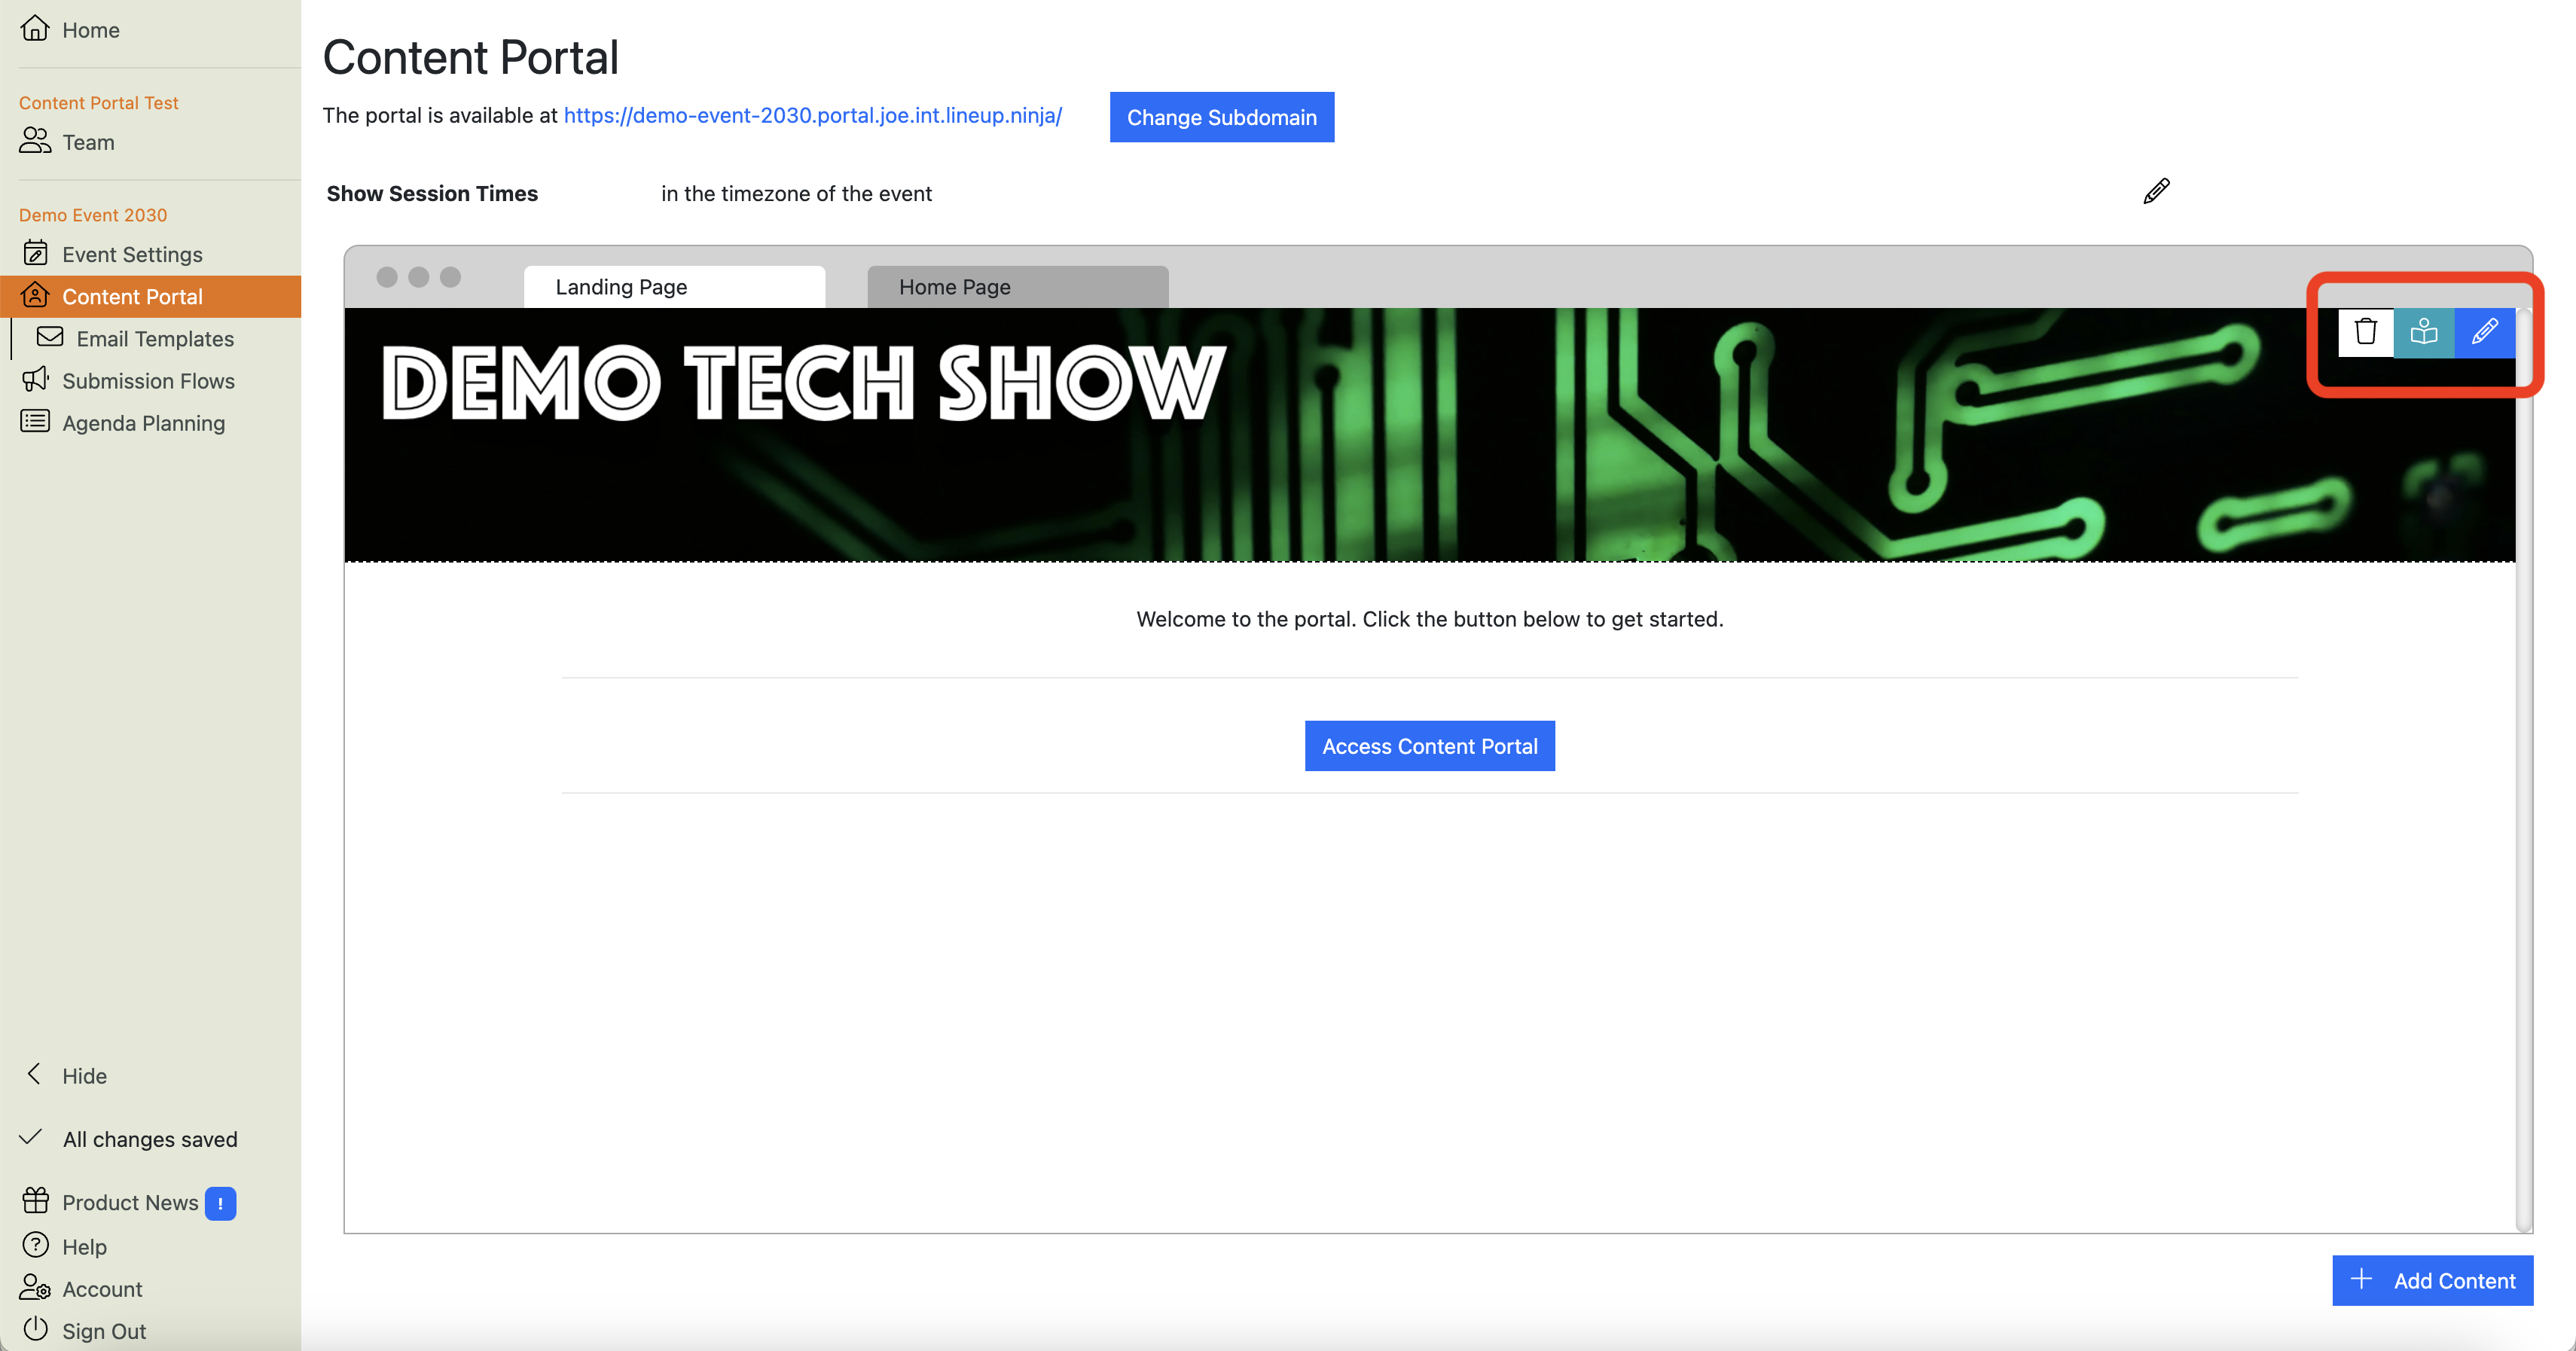
You can now either:
- Click the white "Delete" button to delete the branding section entirely, or
- Click on the “Edit” button (the blue one with a pencil icon) to delete the desktop and mobile versions of your banner individually, but retain the banner section so you can upload different images.
Info
If you delete the branding section entirely, you can add it back in later by clicking the ‘Add Content’ button in the bottom-right corner of this page.
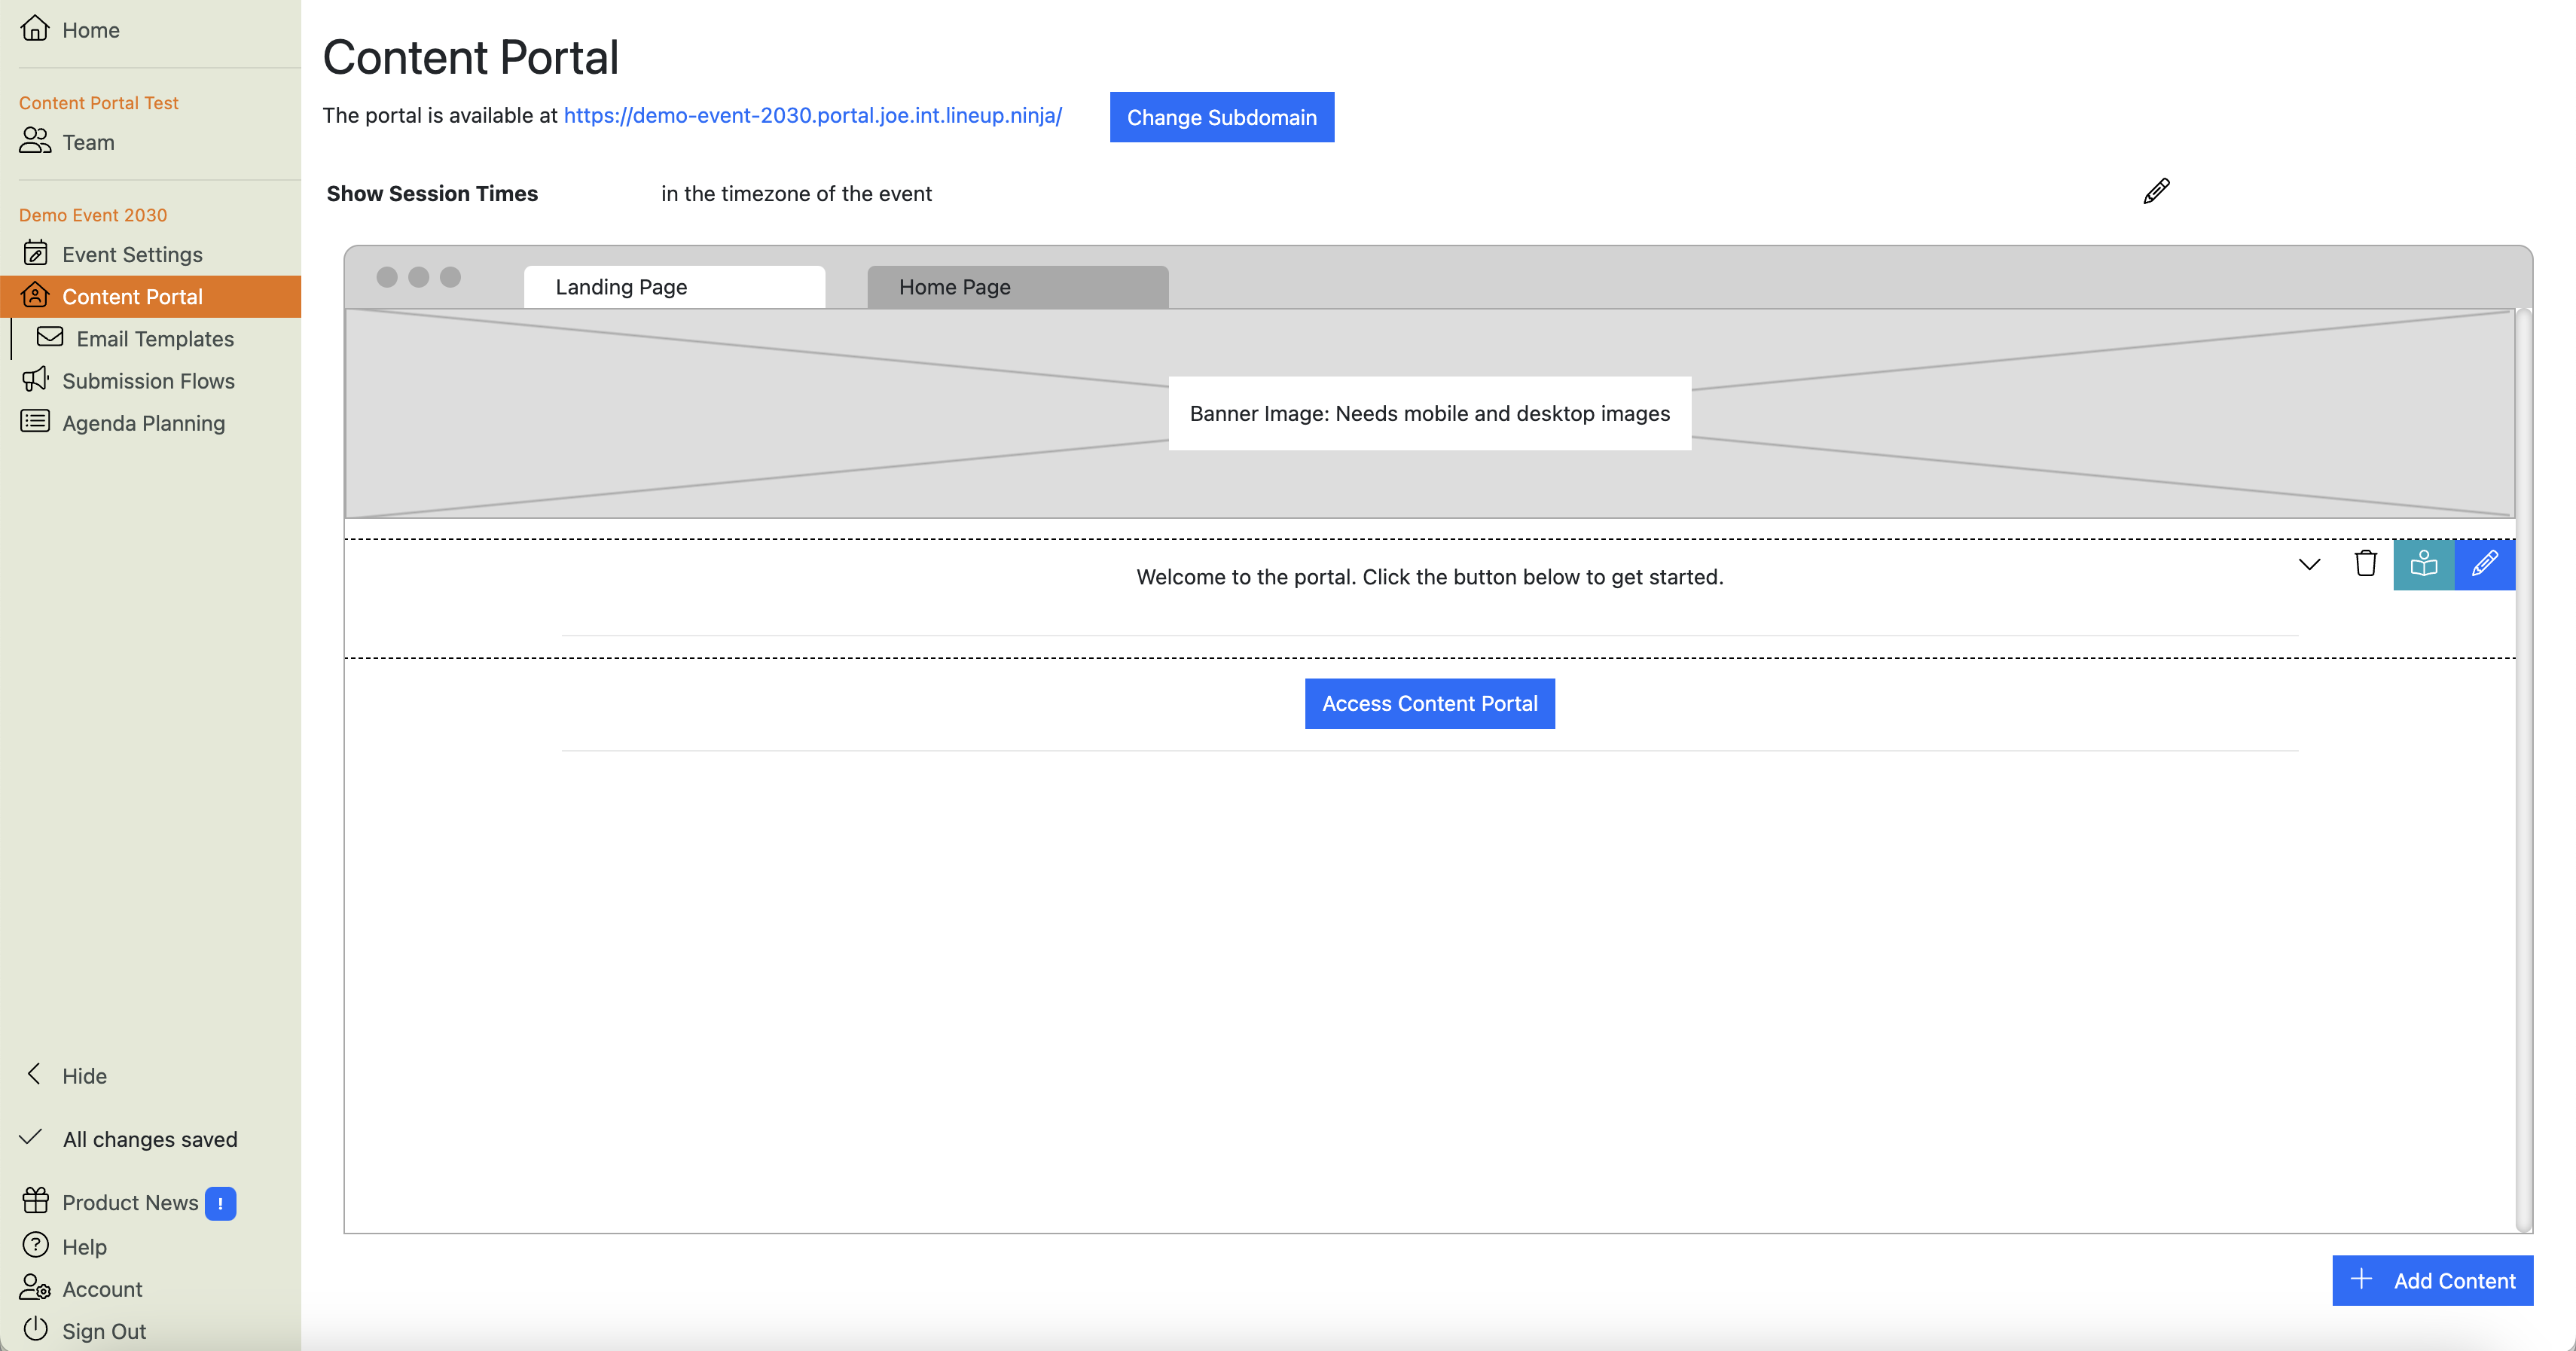
How do I edit the text on the Landing Page in the Content Portal?
Hover over the text area on the Landing Page preview. This will reveal the relevant action buttons in the top-right corner of the section. Click the blue button:
This will launch the text editor:
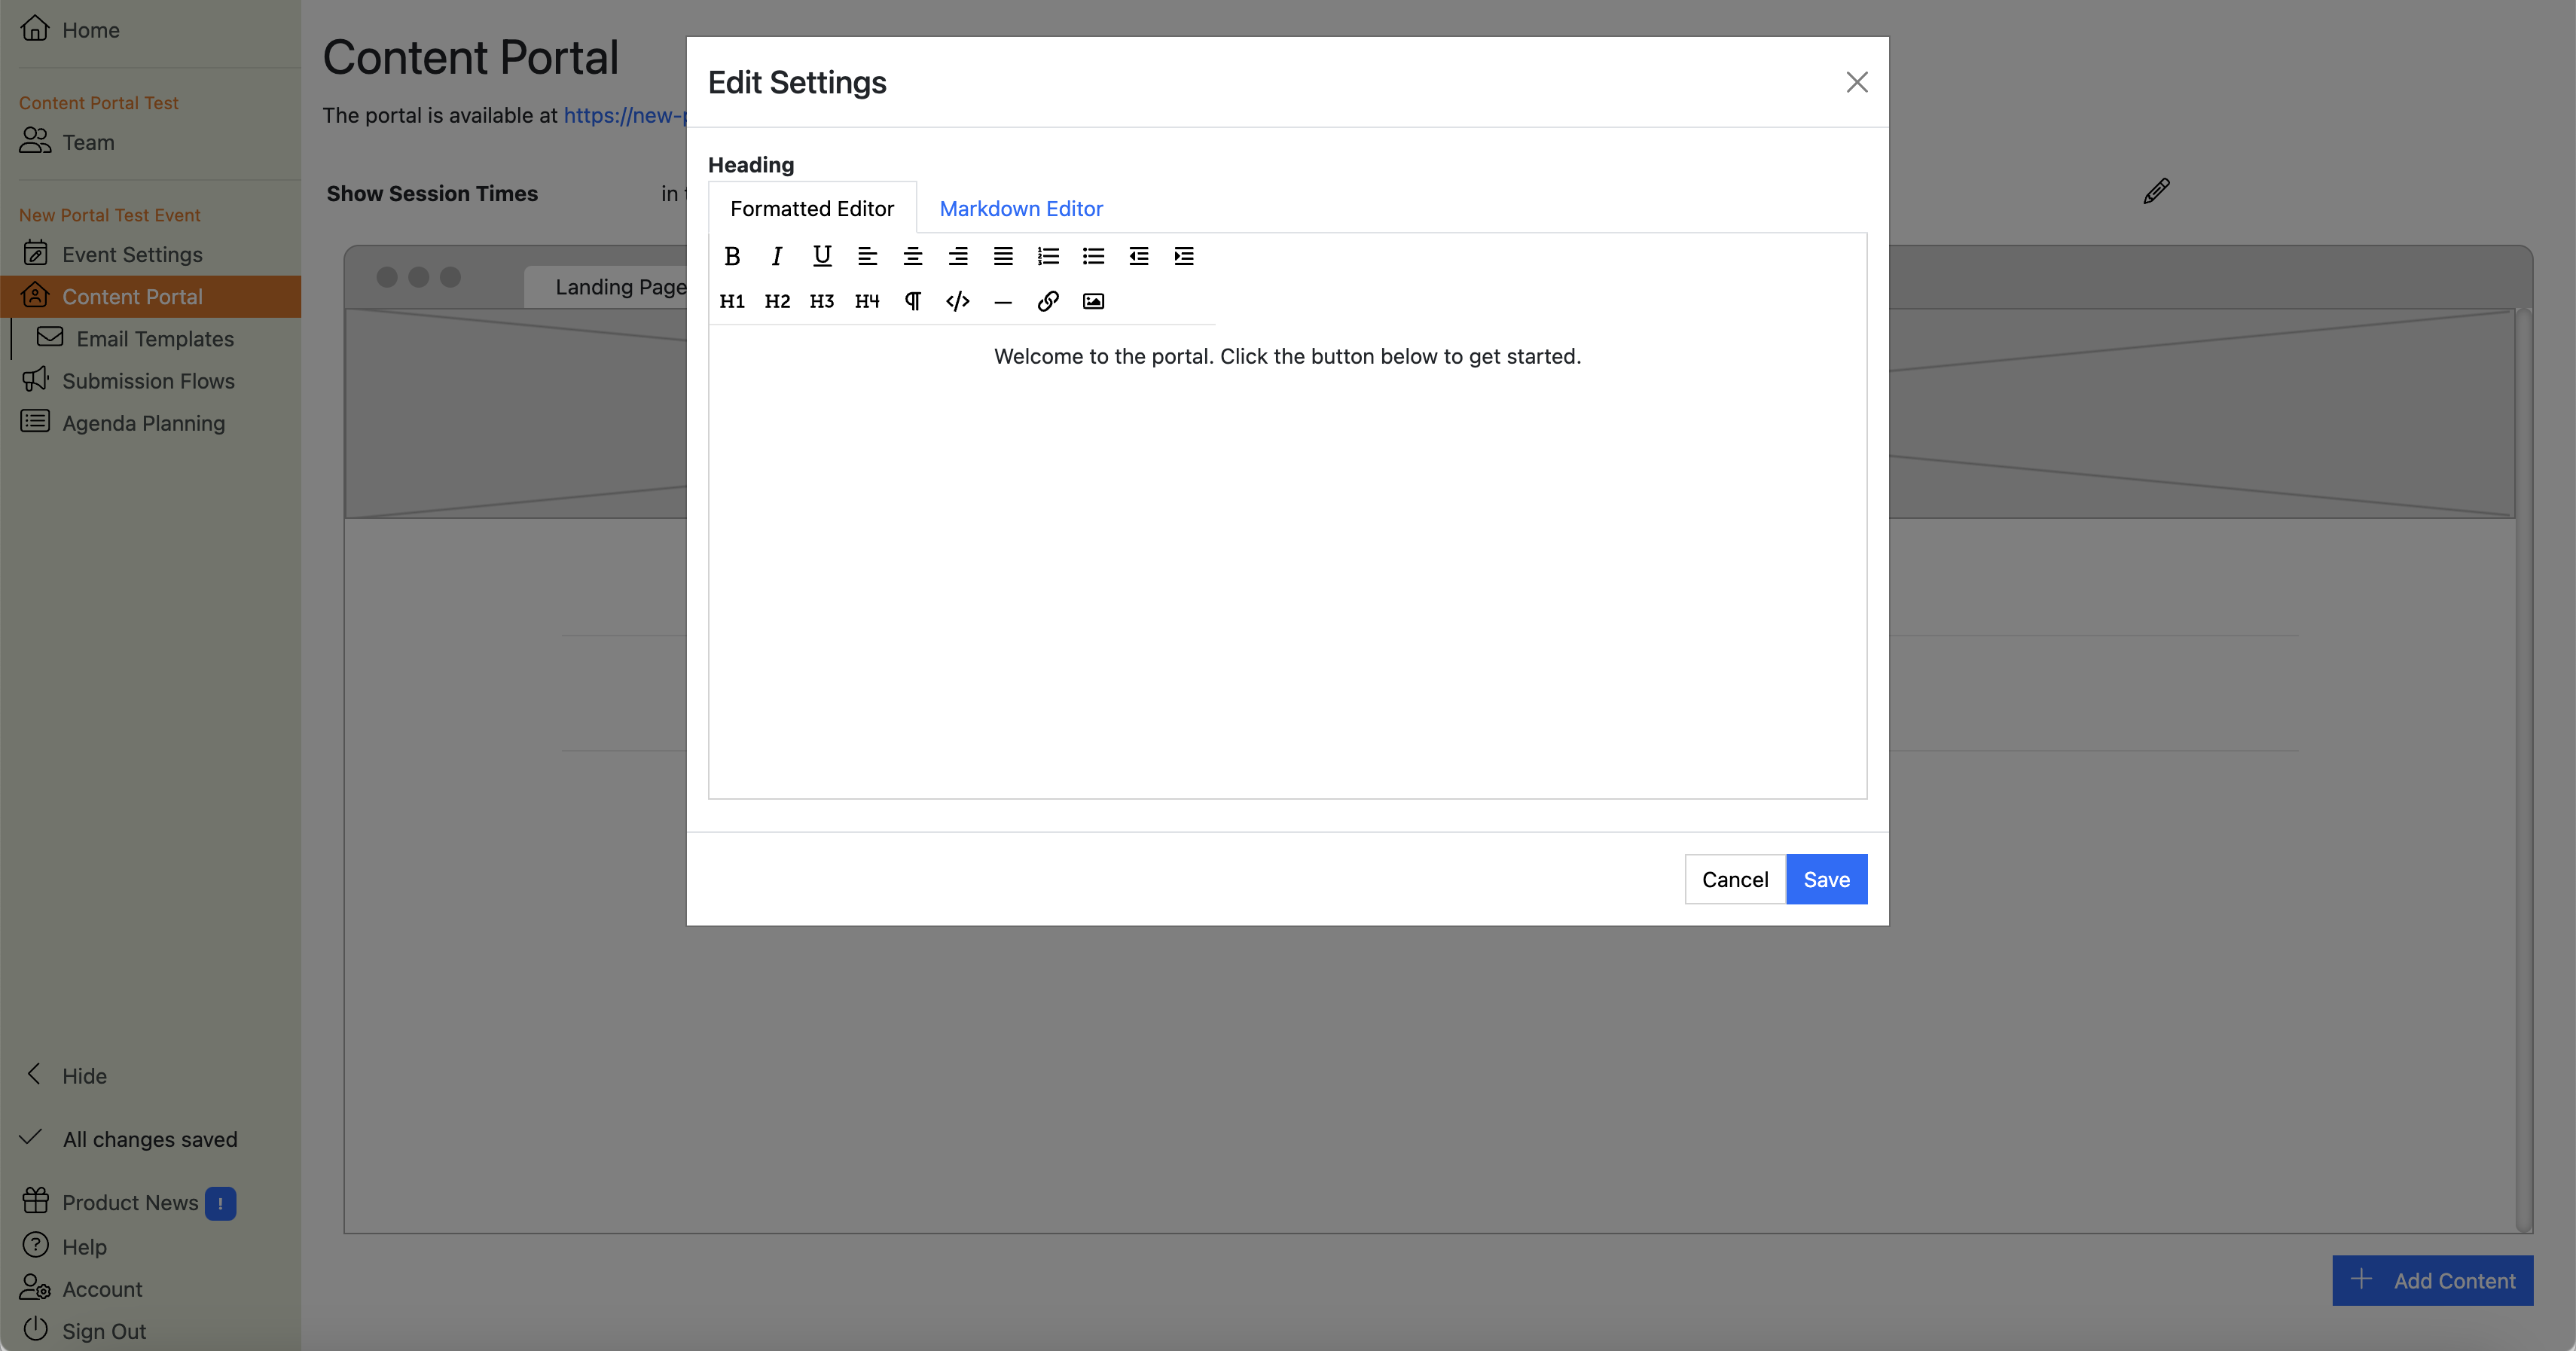
Now you can edit the text and apply formatting. Click the blue button to save your changes.
Info
You can delete this section entirely. If you do, you can add it back in by clicking the ‘Add Content’ button in the bottom-right corner of this view.
How do I edit the button on the Landing Page in the Content Portal?
Hover over the button area of the Landing Page in the Content Portal configuration view. This will reveal the relevant action buttons. Click the blue :
This will launch the button editor:
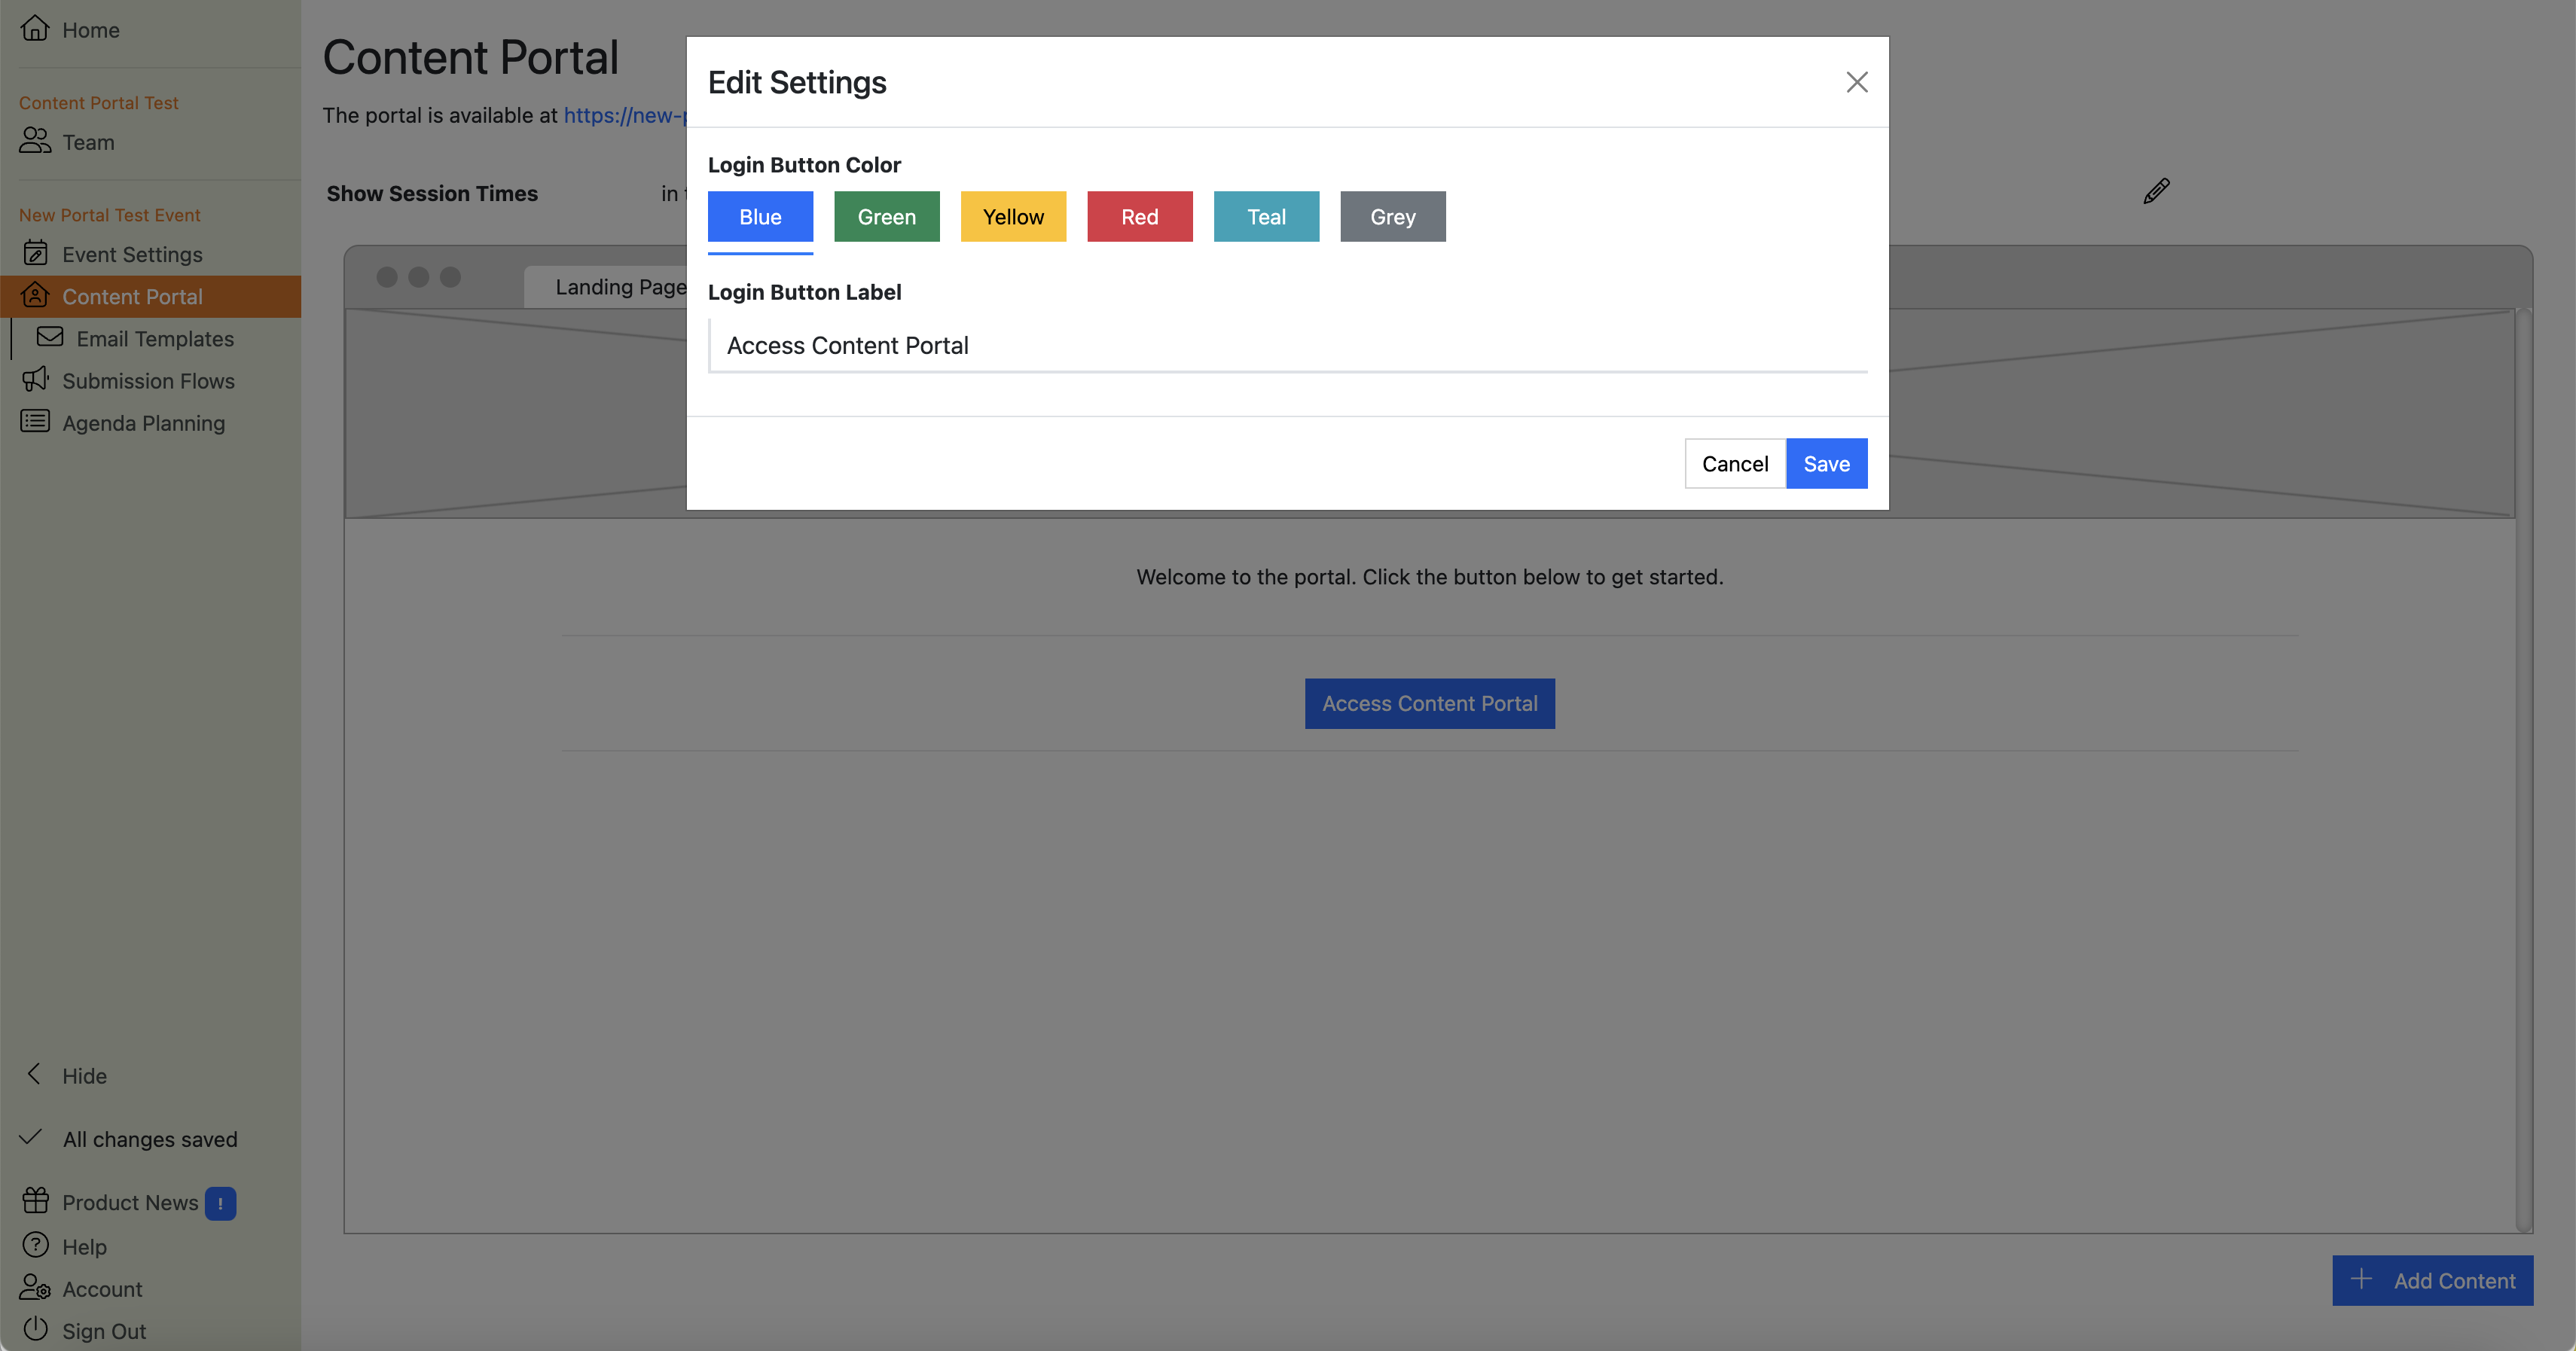
Here you can change the color of the button and the text that is displayed on the button.
Note
You can only choose from a limited color palette for buttons. This is to help you give users a consistent experience.
Info
You can’t delete this section. If you did, users wouldn’t be able to access the portal, which would rather defeat the point of the whole thing.